¶ 1. Mount the filament spool holder
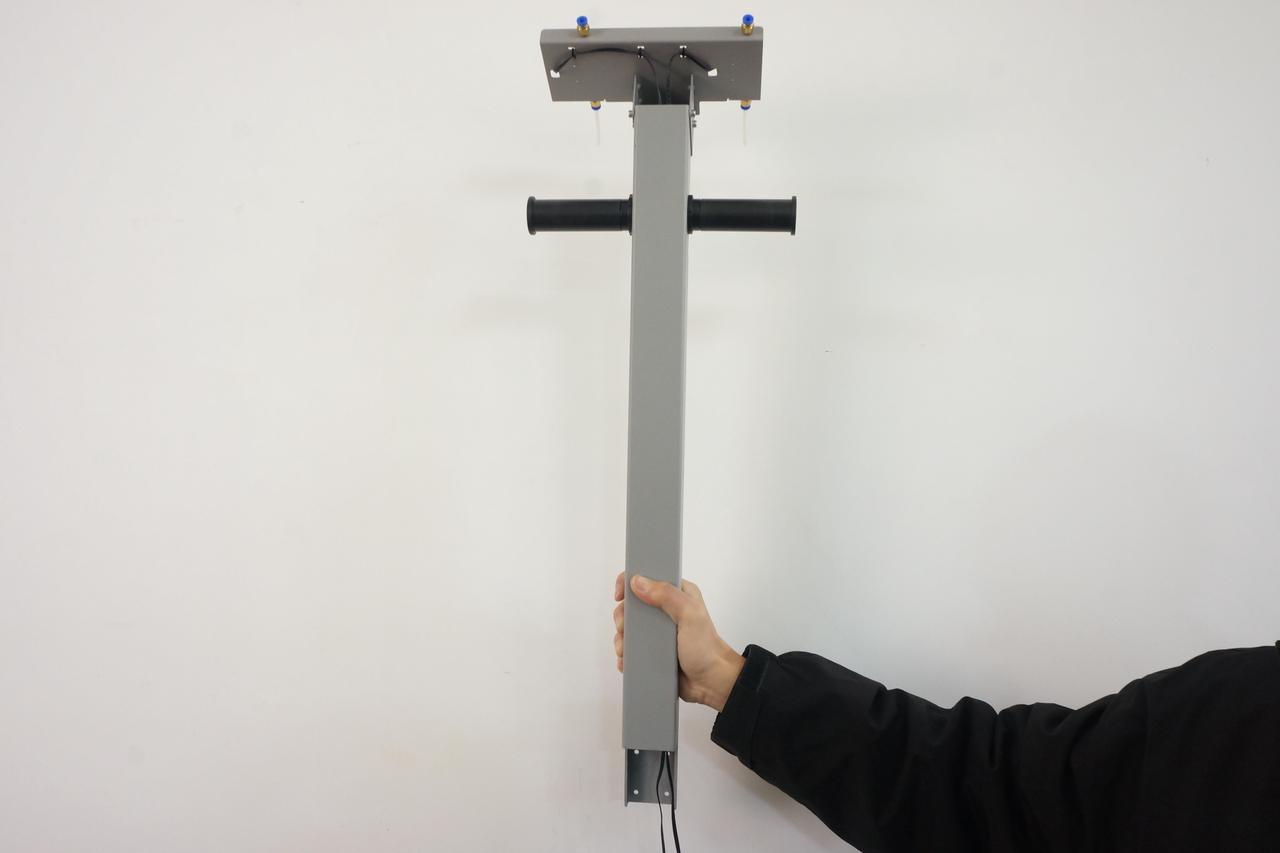
After opening the wooden box, take the filament holder out and mount it on the back of the printer.
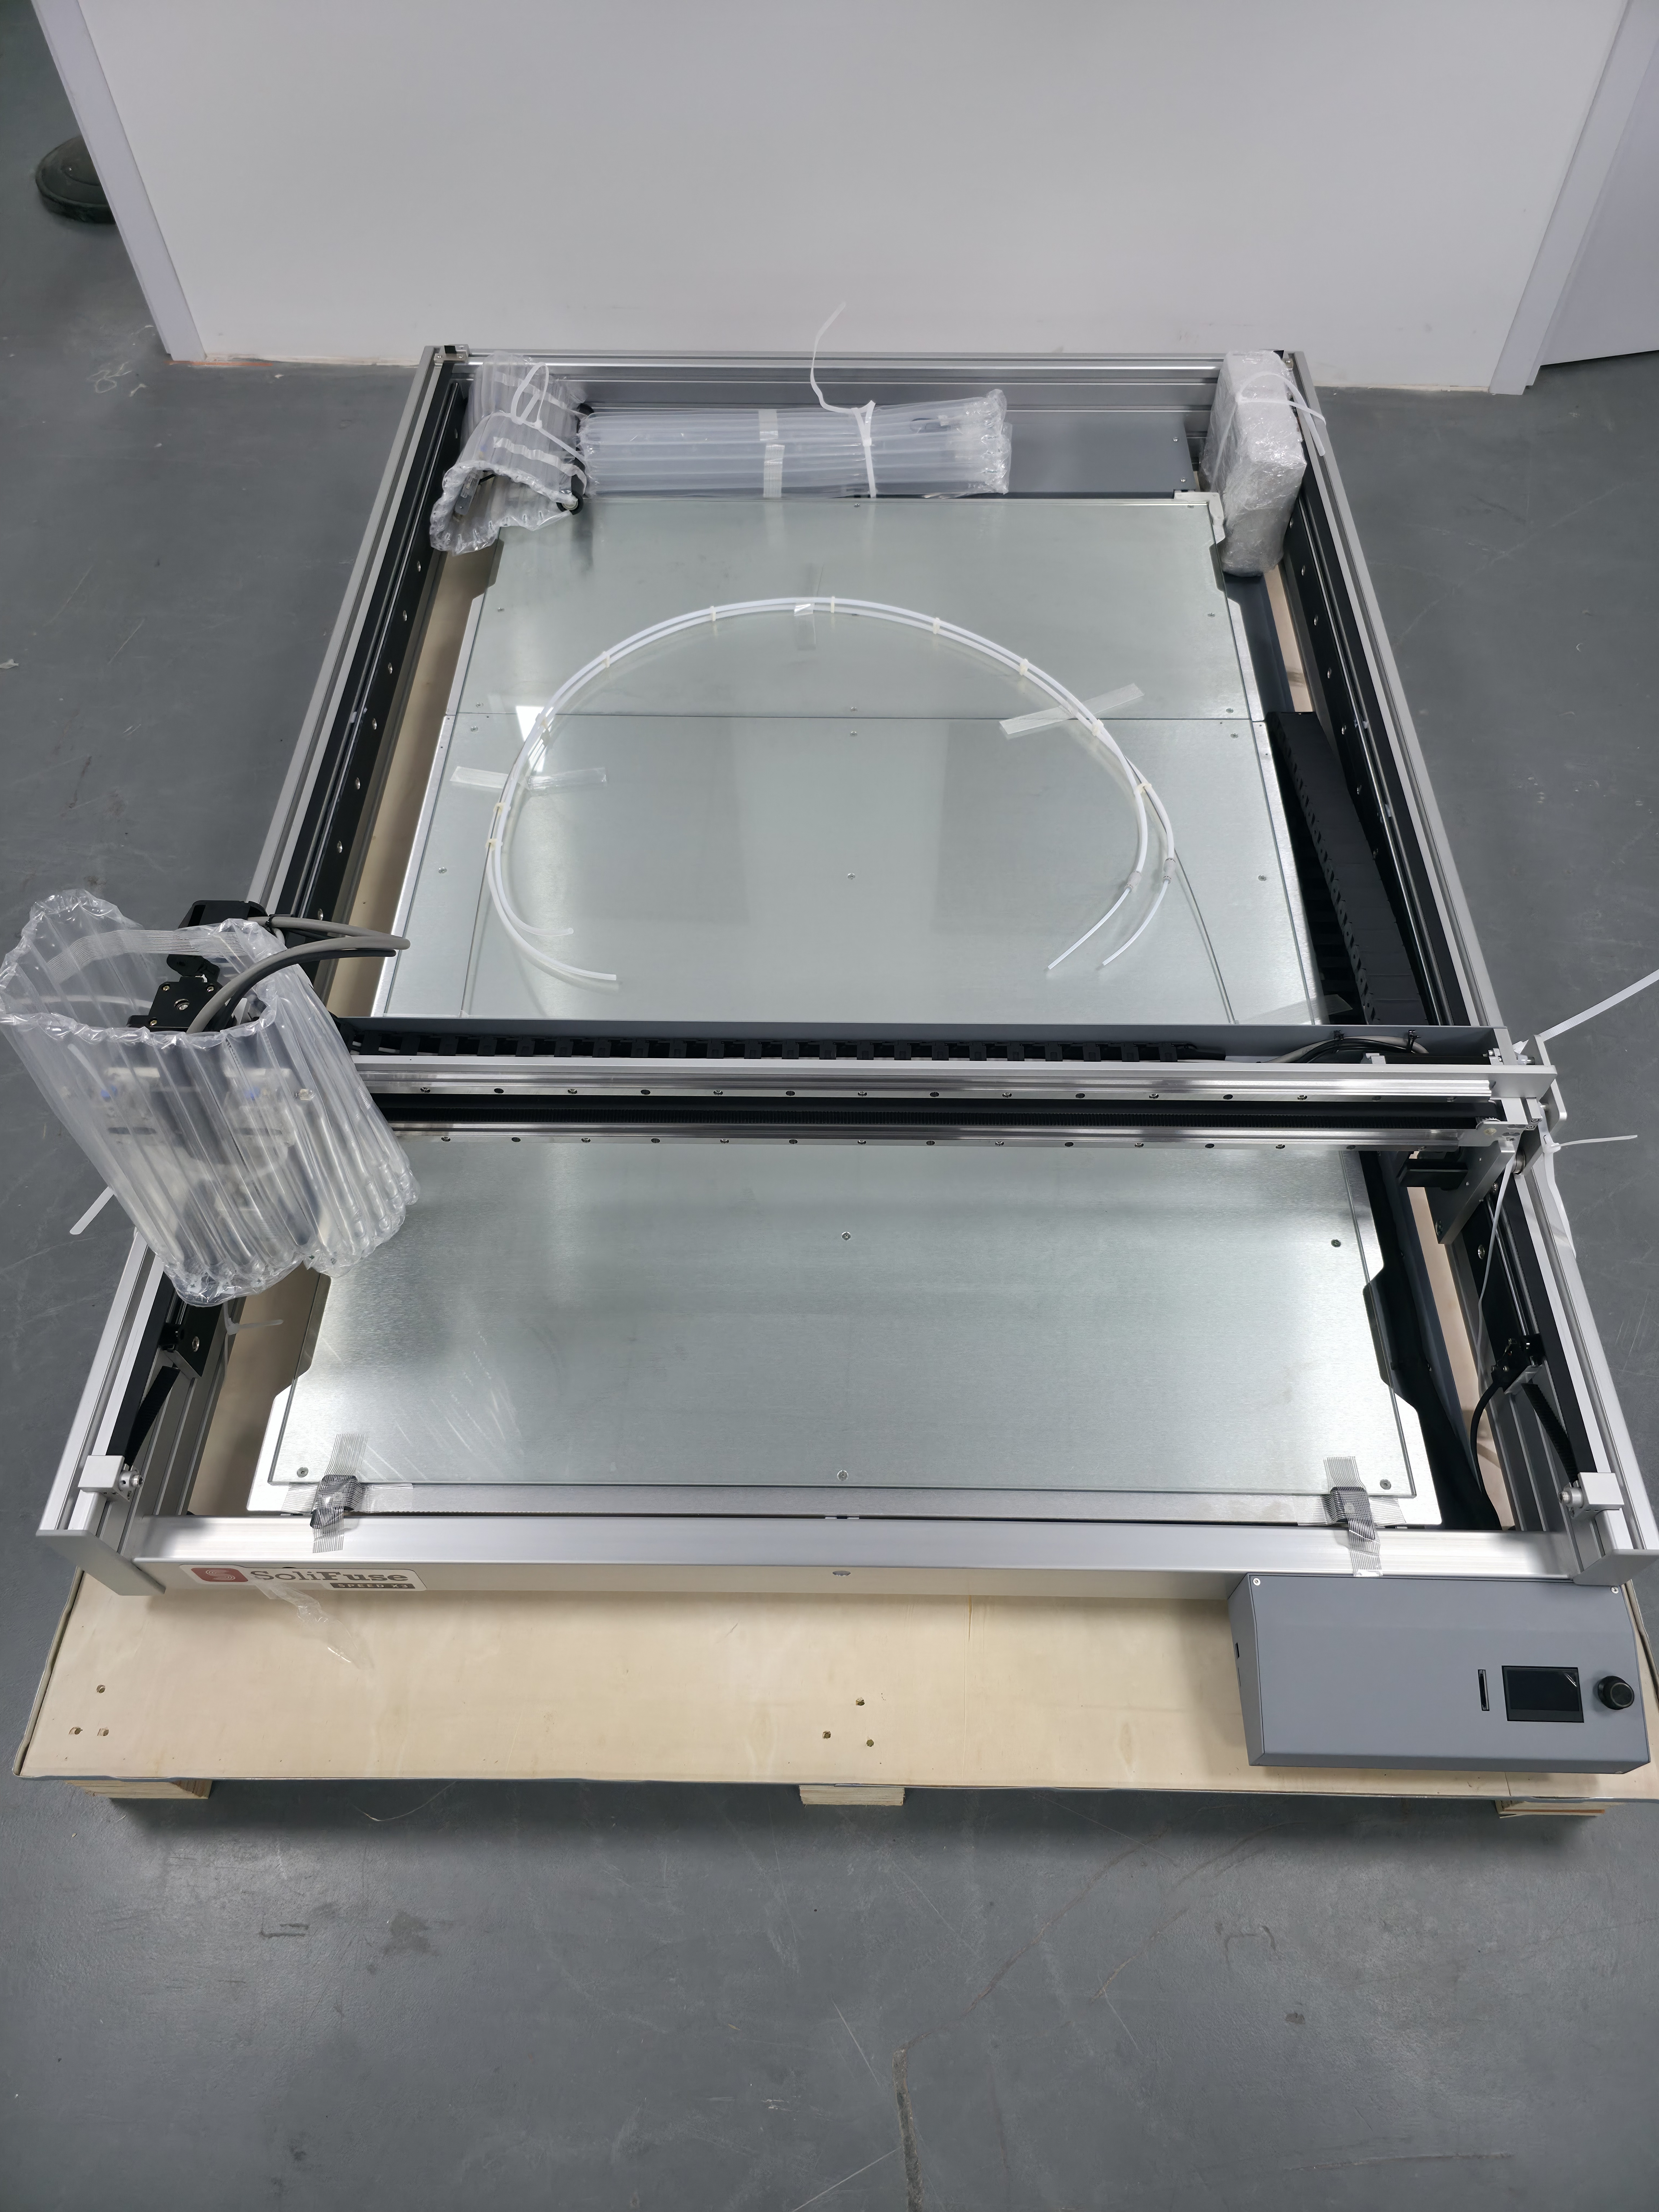 |
 |
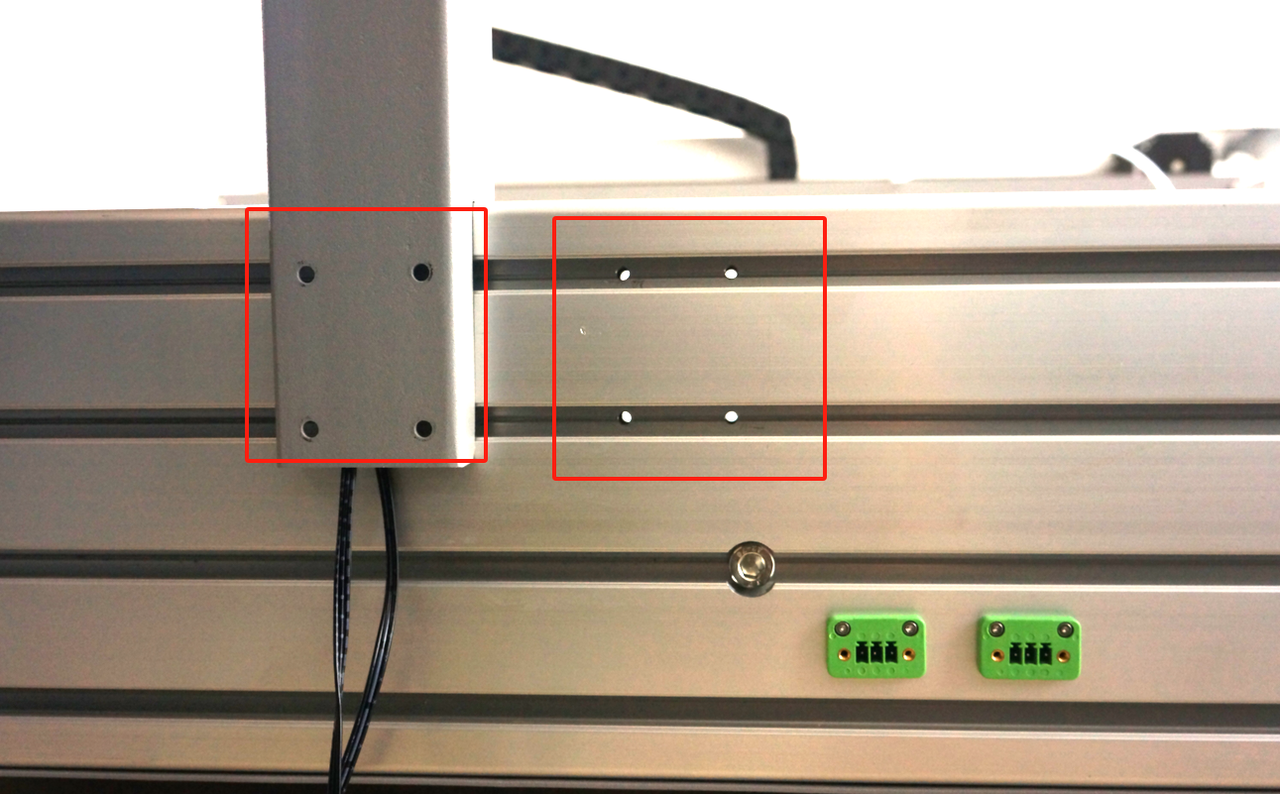
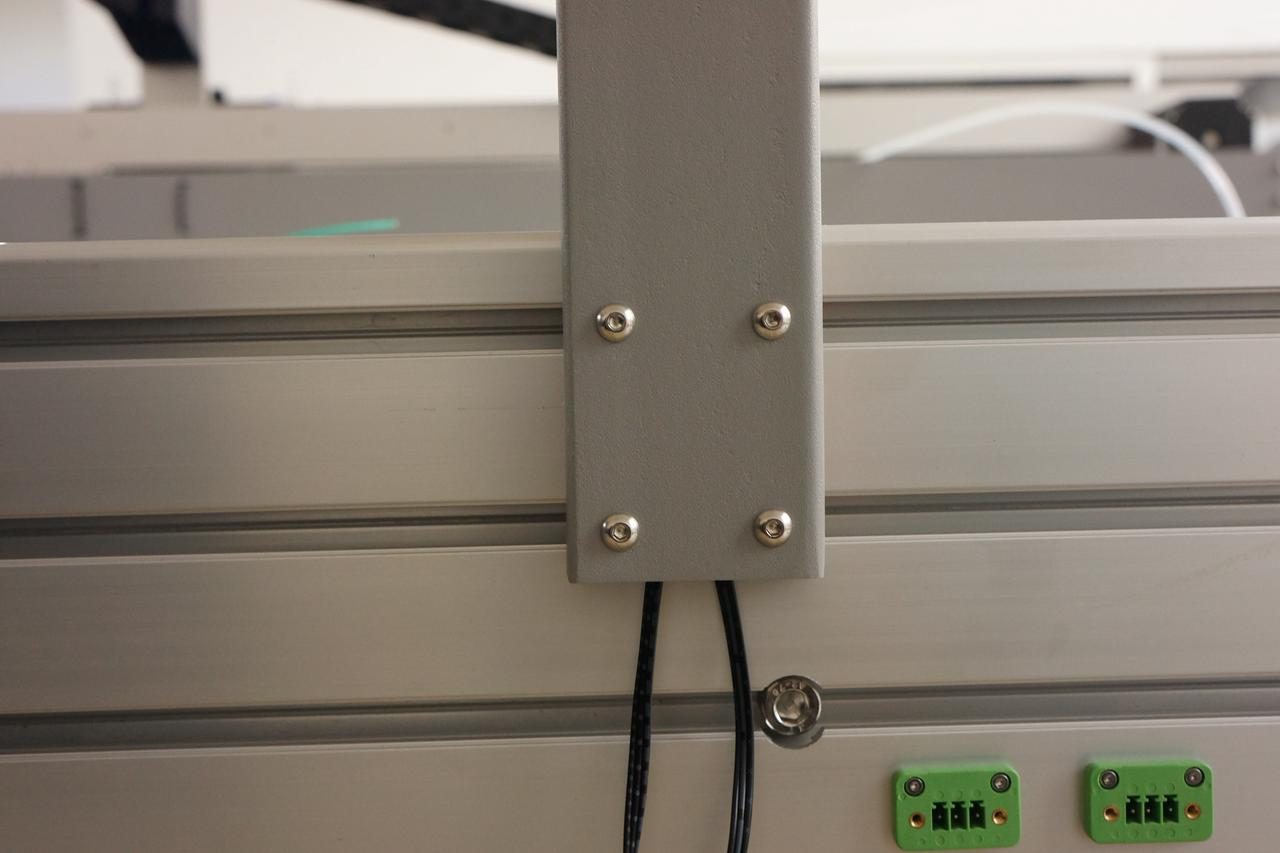
¶ 1.1 Tighten the four screws
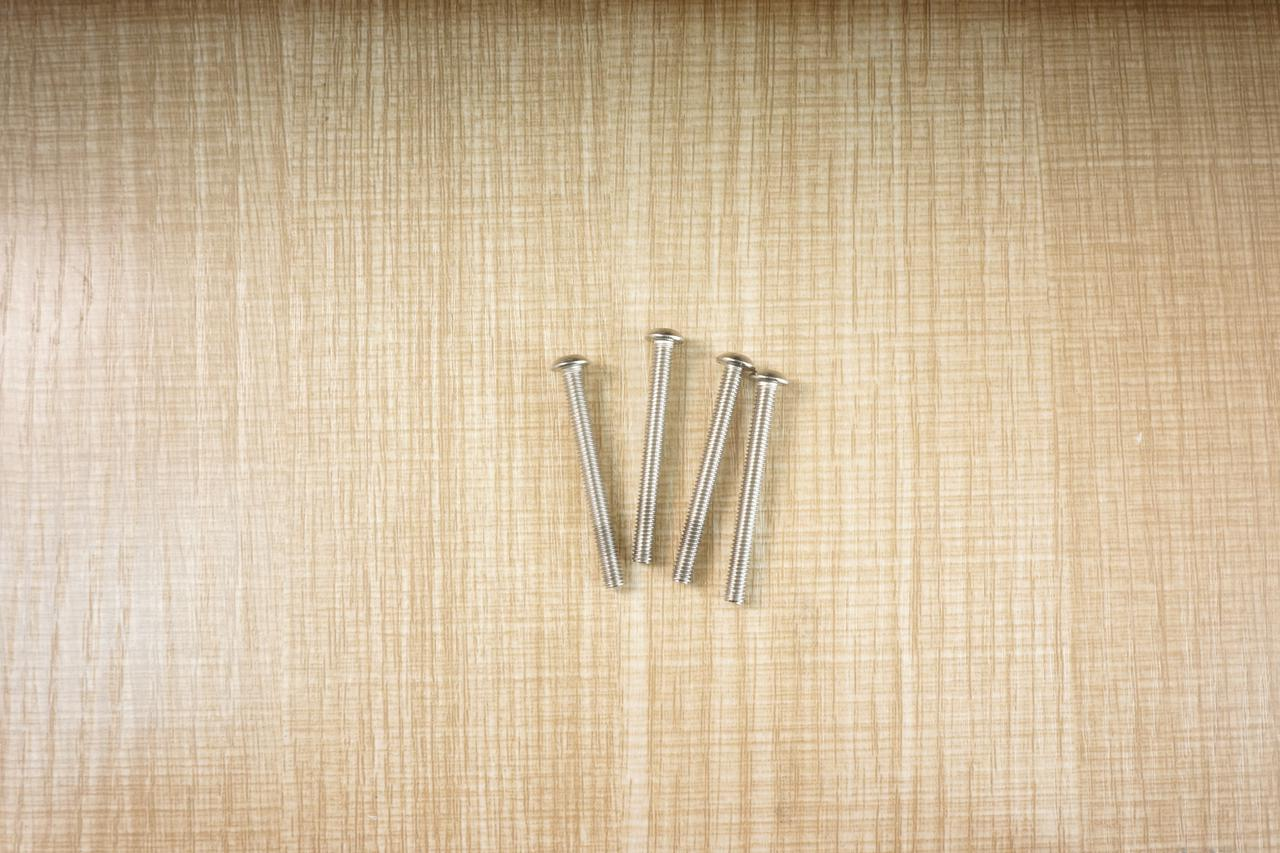
Take out the filament holder. There are four screws that come with it.
Mount the filament holder to the 3D printer using the M4 wrench in the tool box.
 |
 |
 |
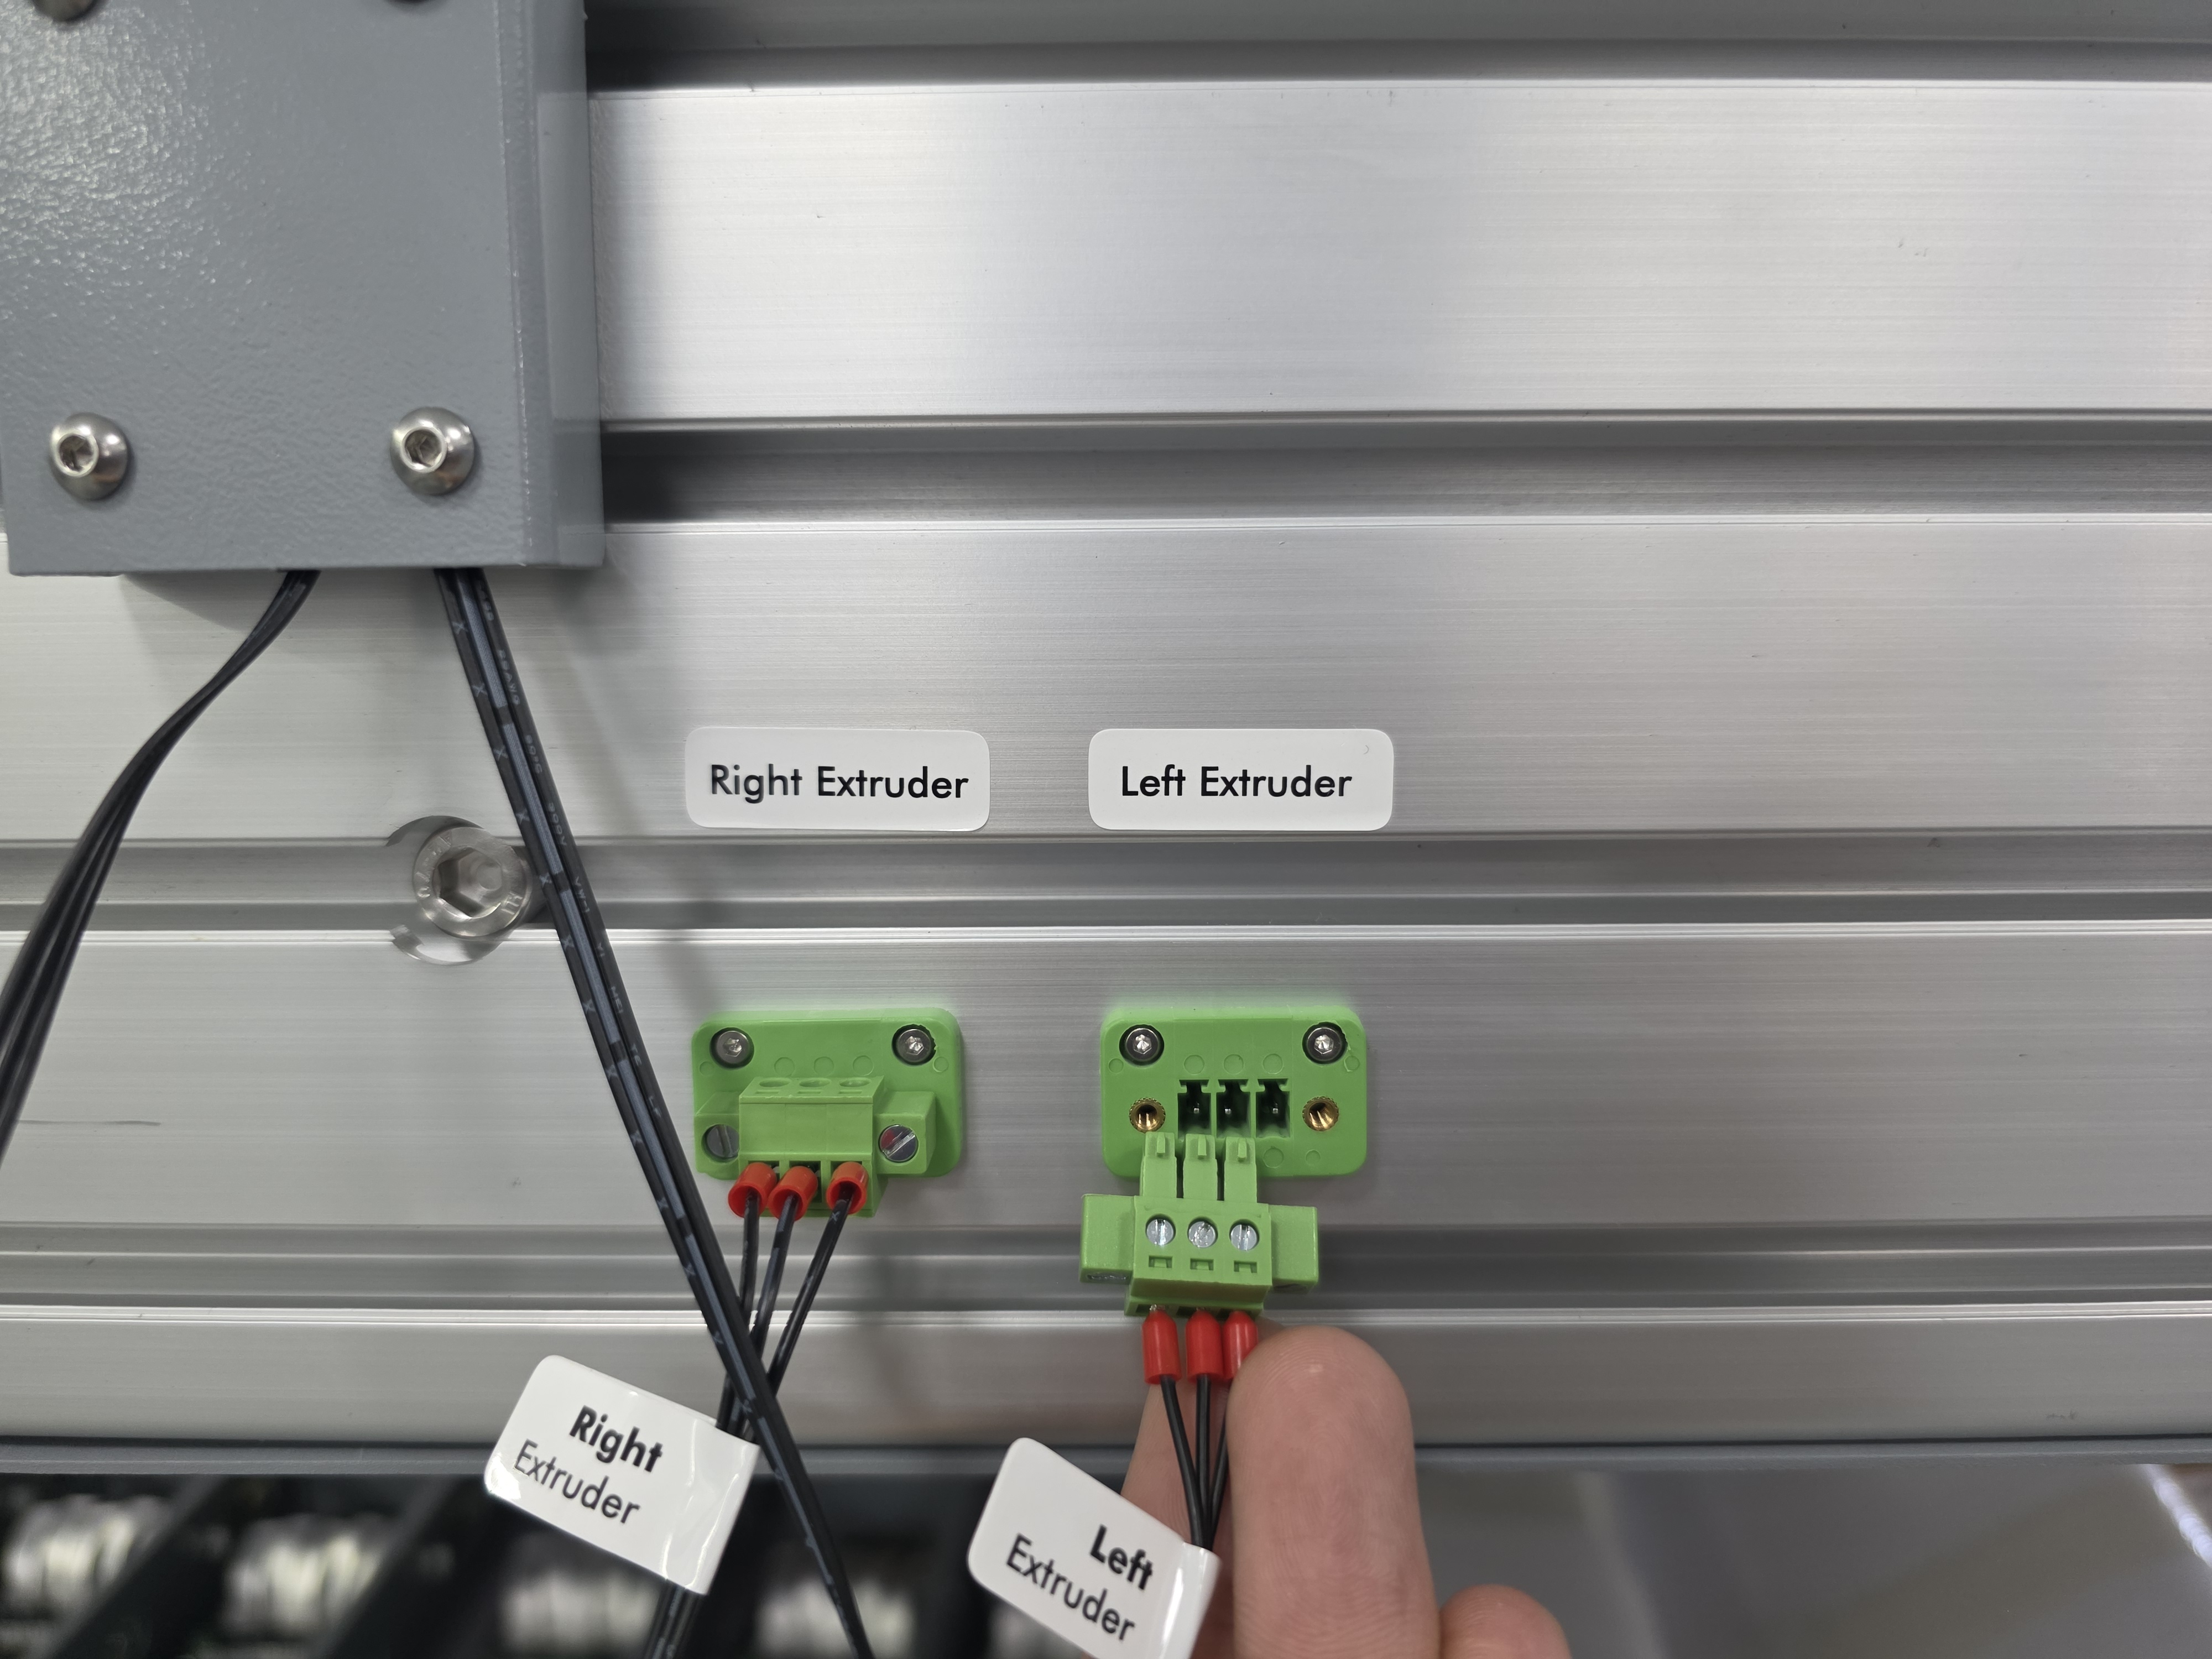
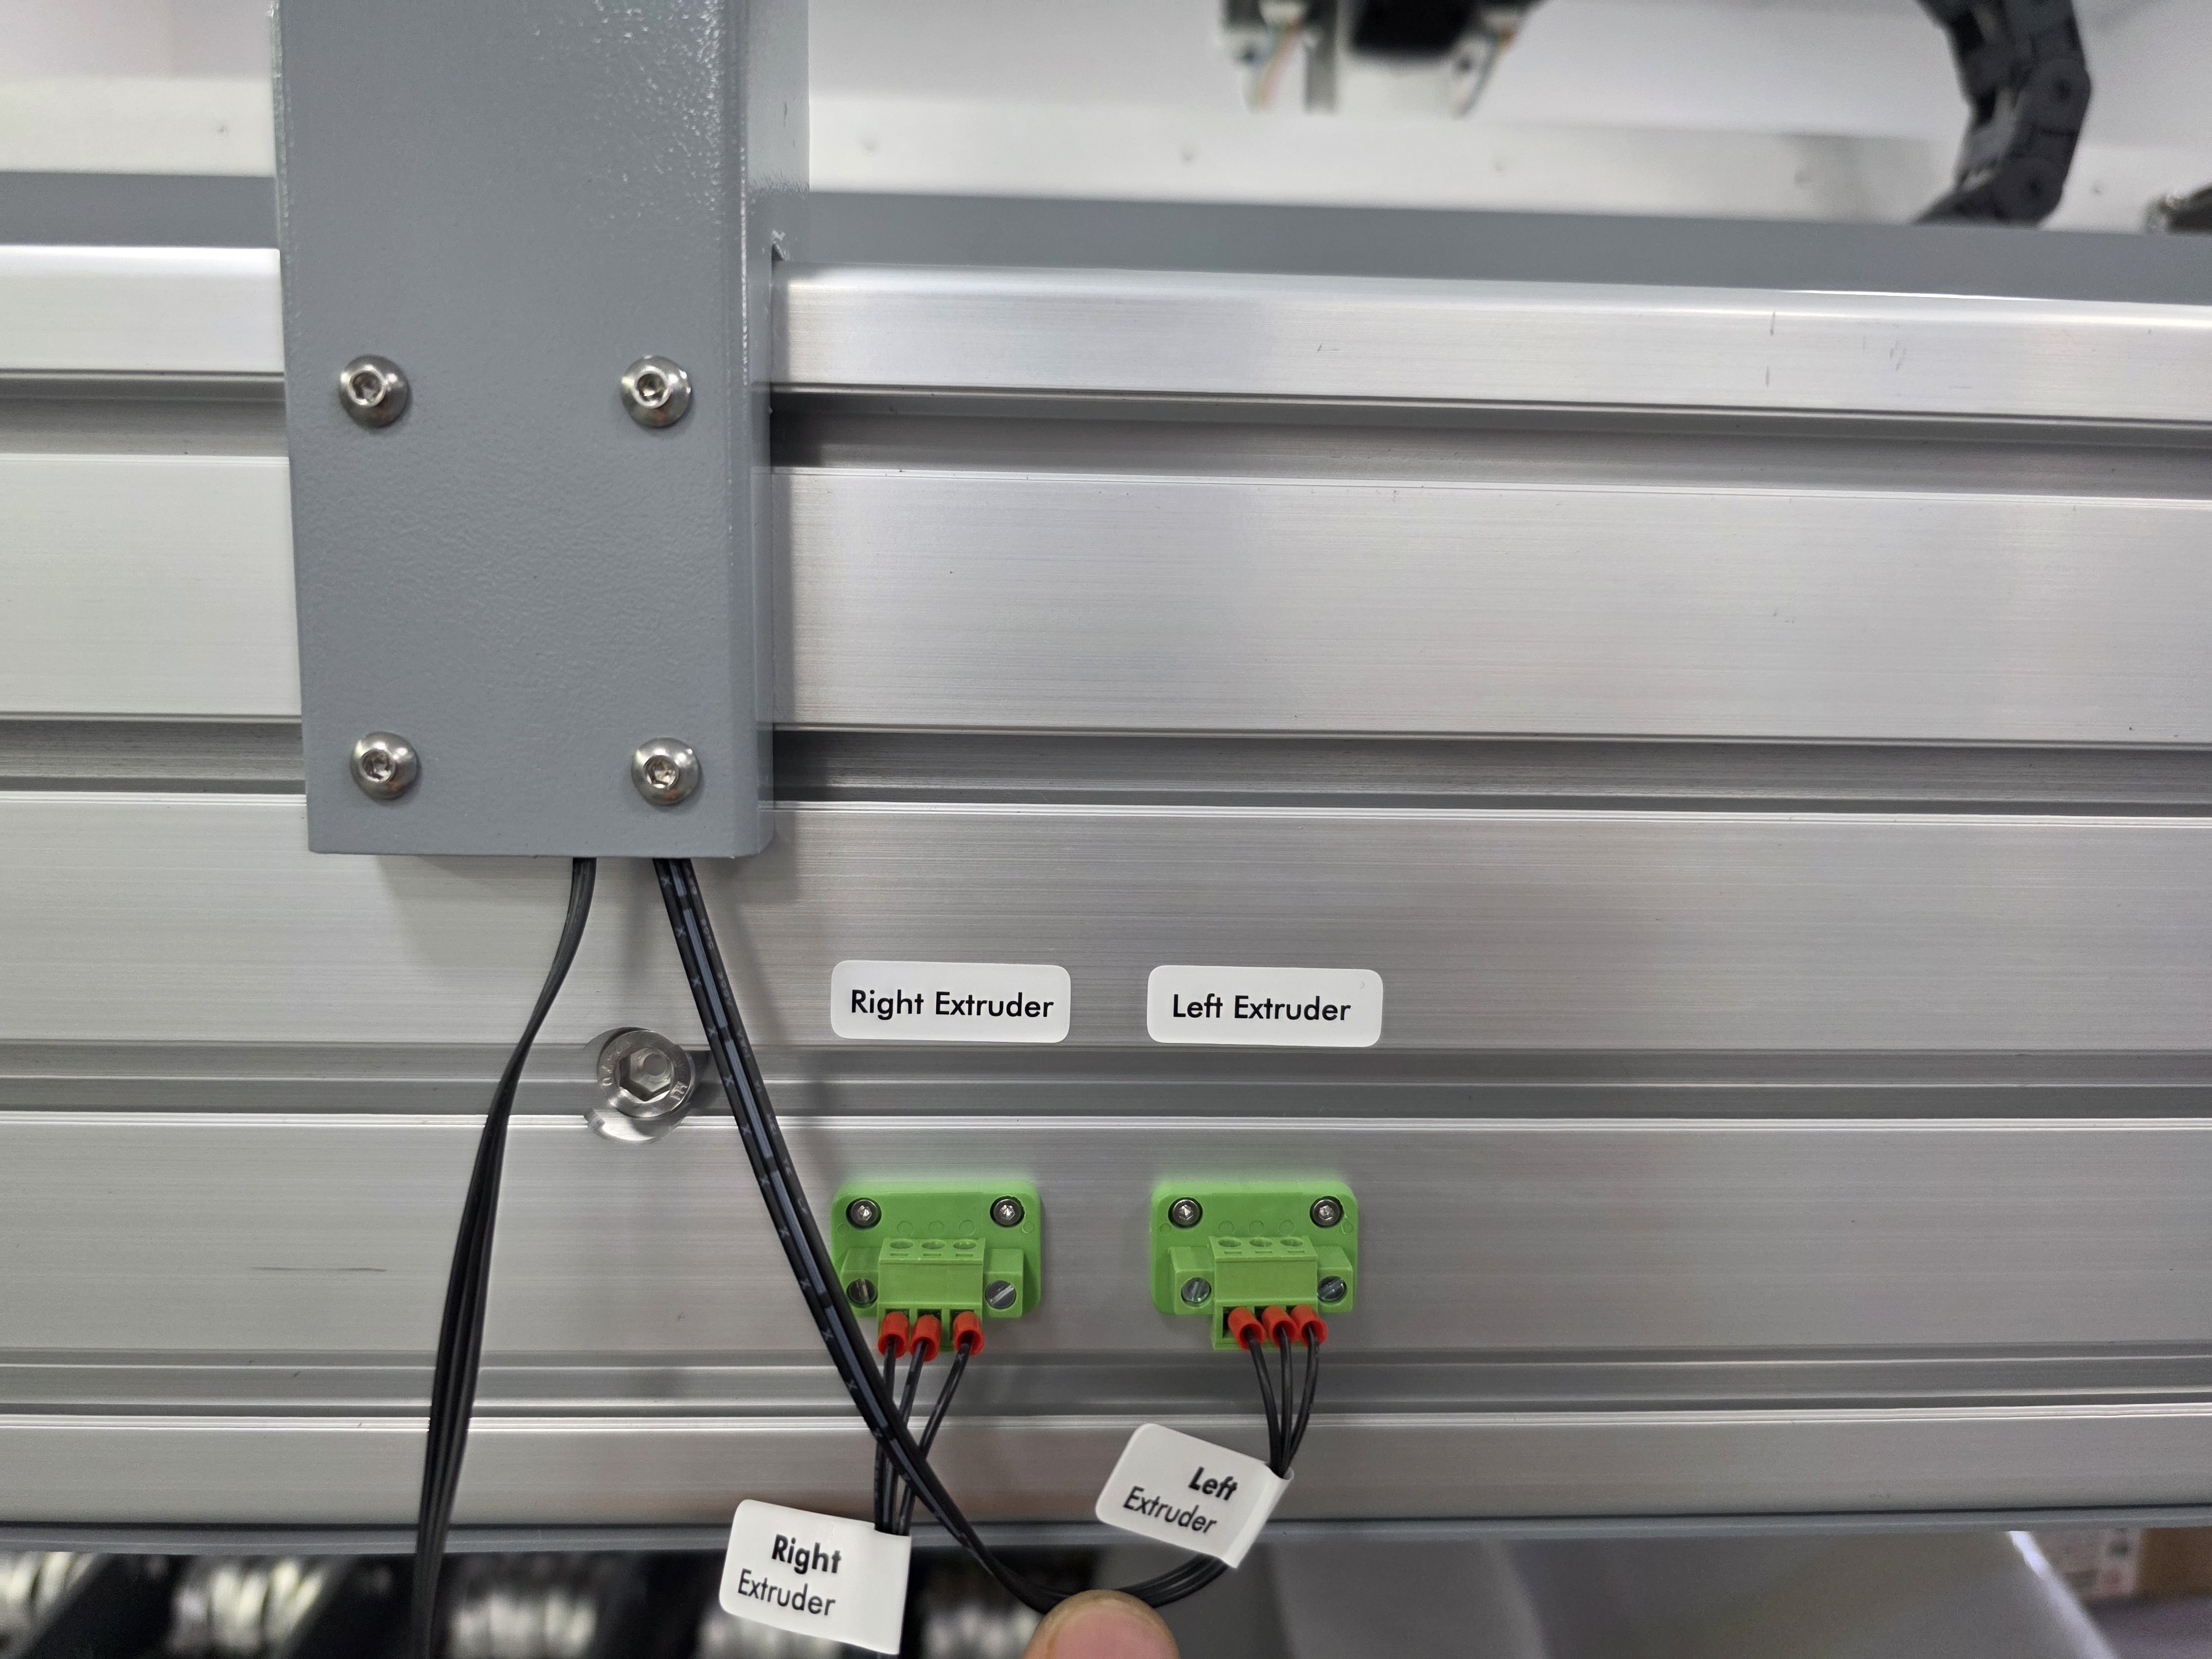
¶ 1.2 Connect the filament sensors
Plug in the connector according to the position shown in the picture.
 |
 |
¶ 1.3 Install the two short PTFE tubes
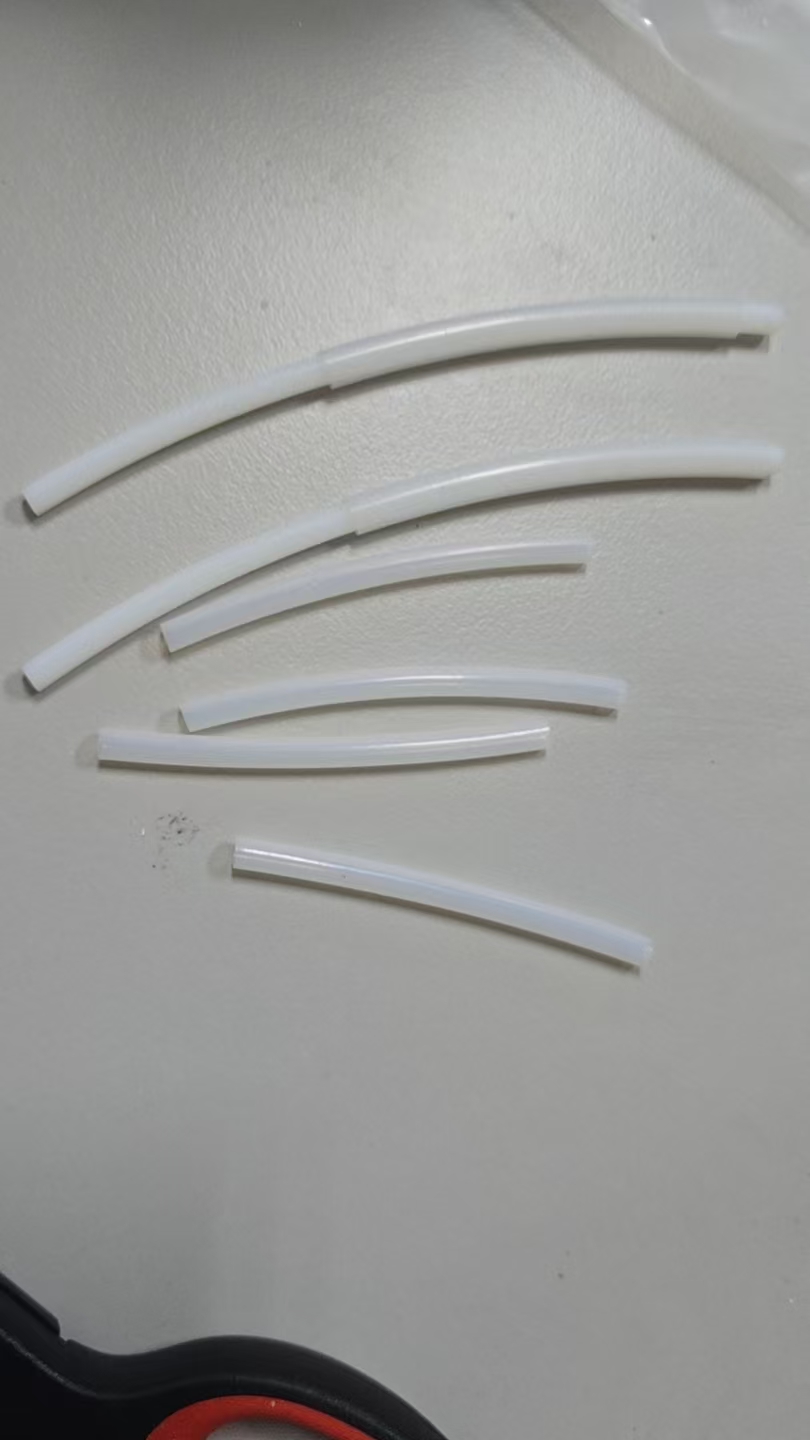 Take out two short PTFE tubes from the tool box |
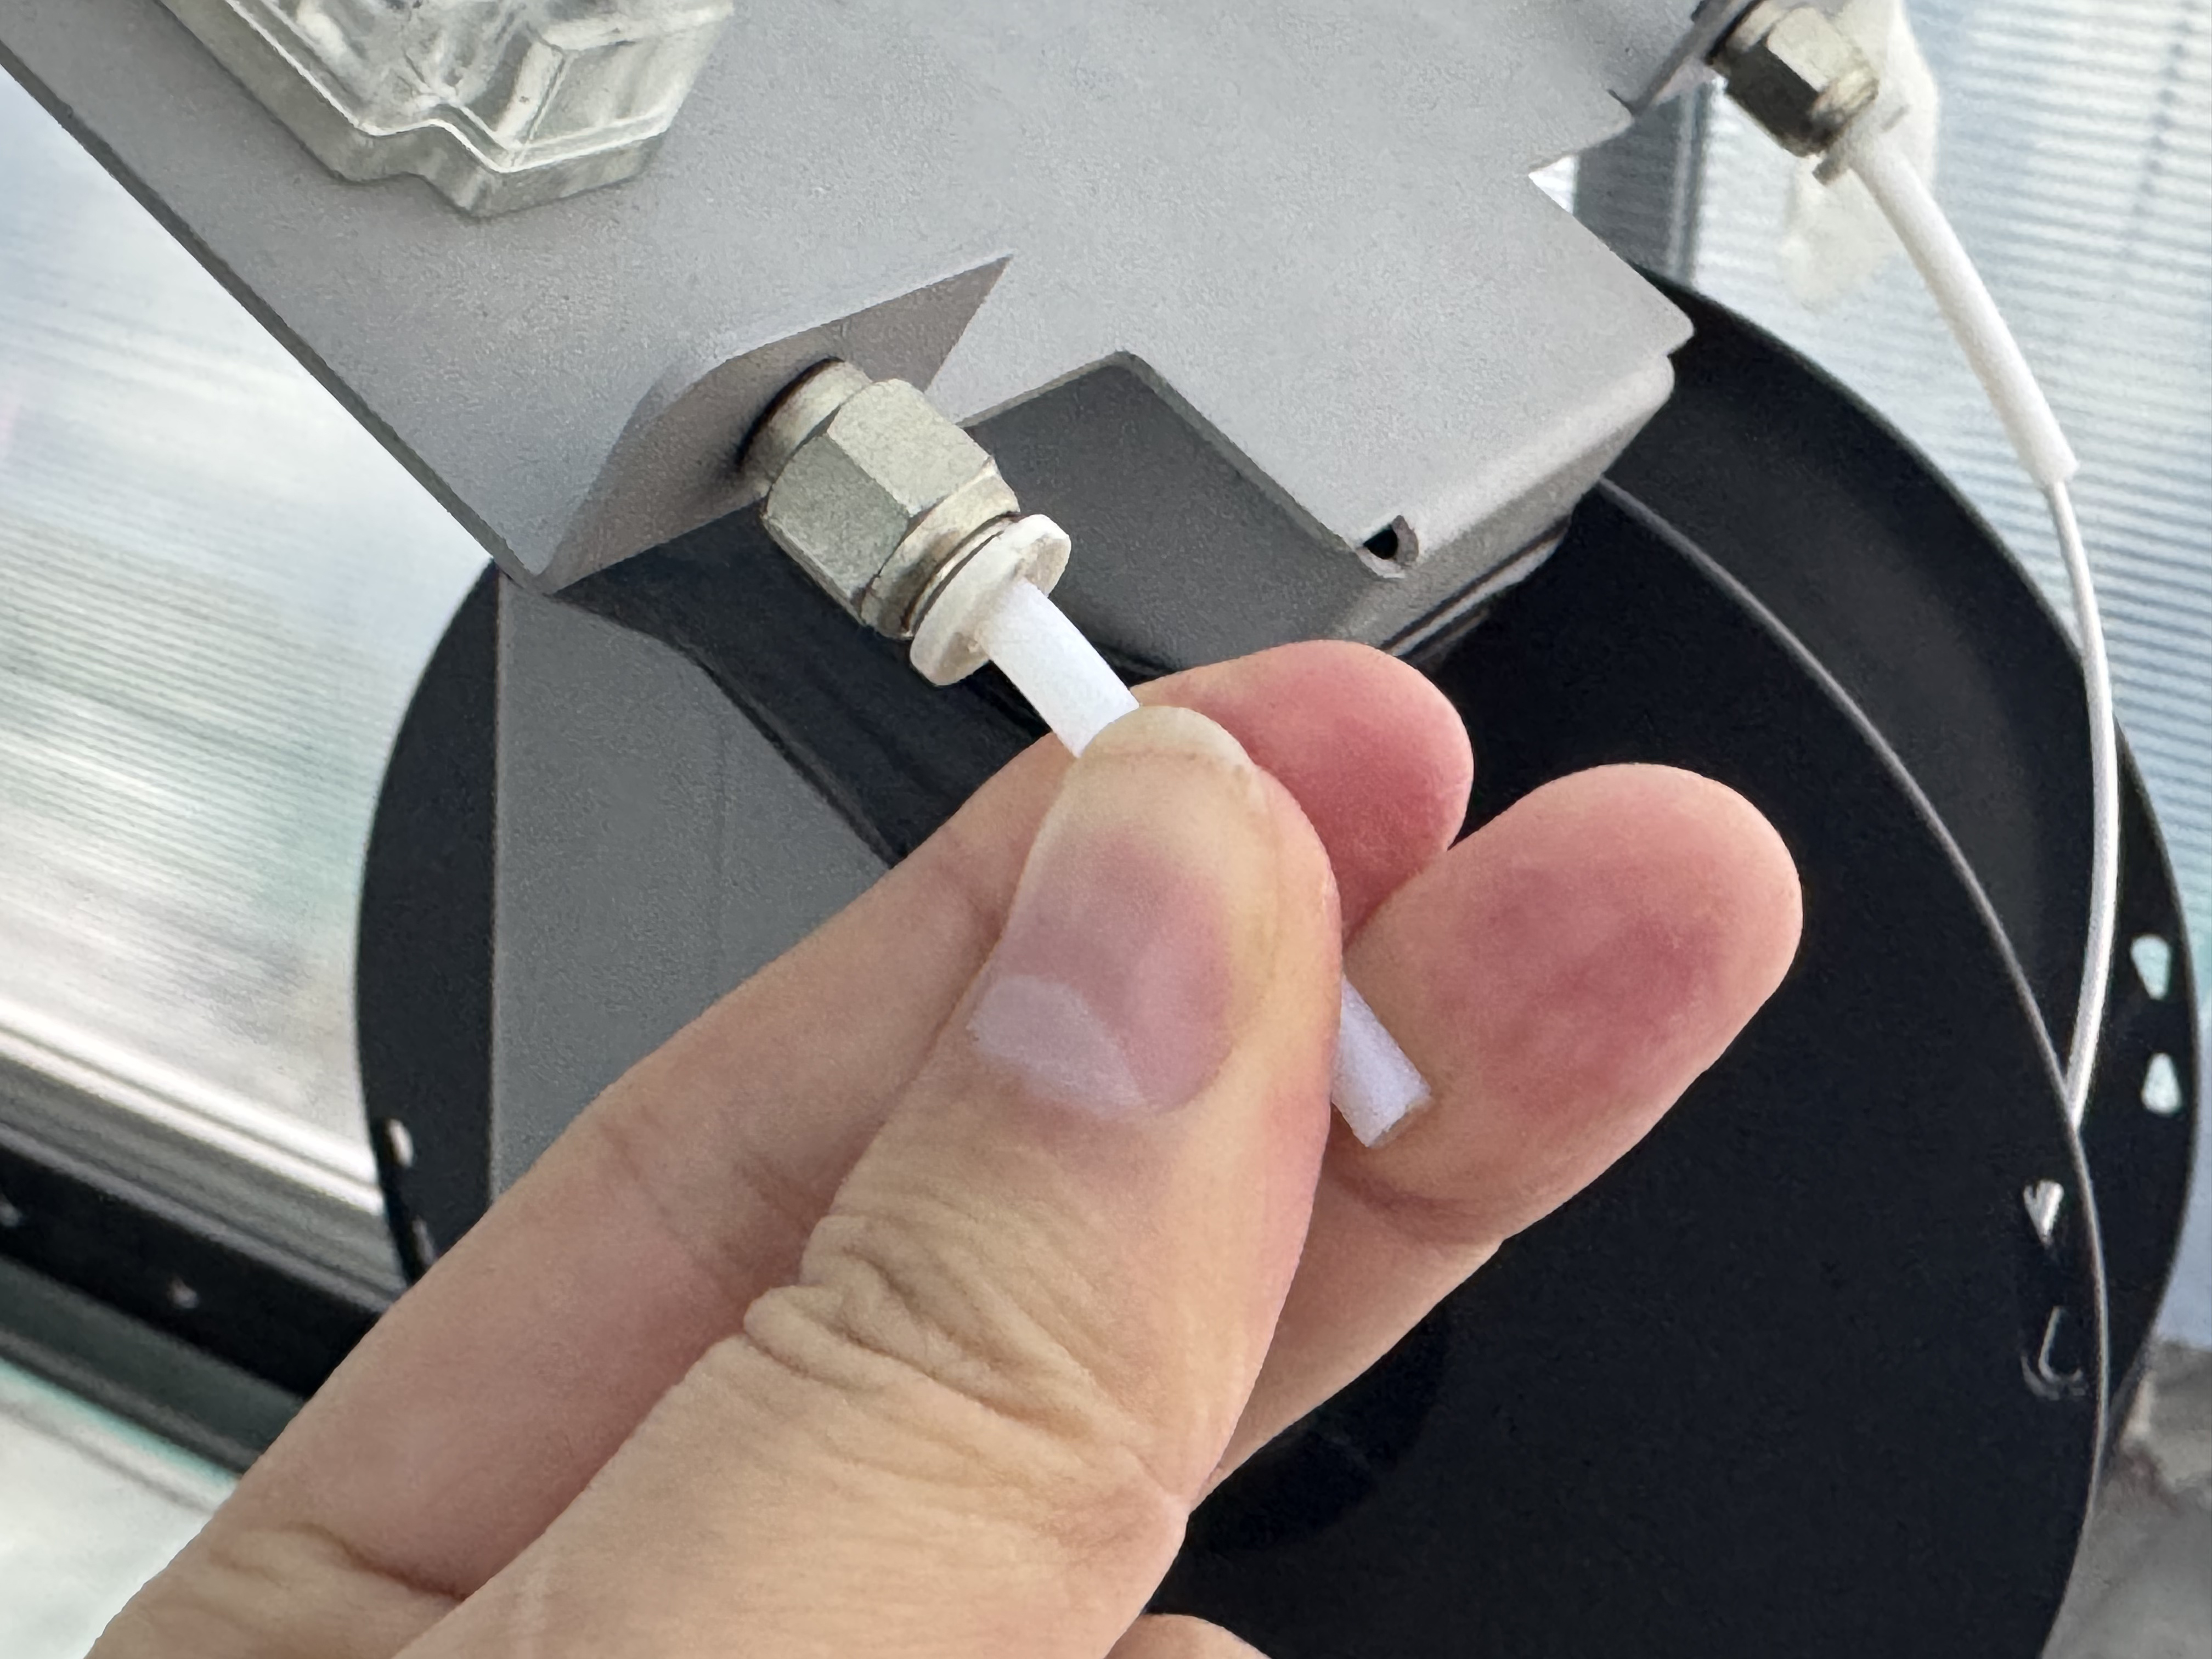 Insert the two PTFE tubes into the two quick-connect couplings |
¶ 2. Mount the filament loading tube set
Take off the filament loading tubes set:
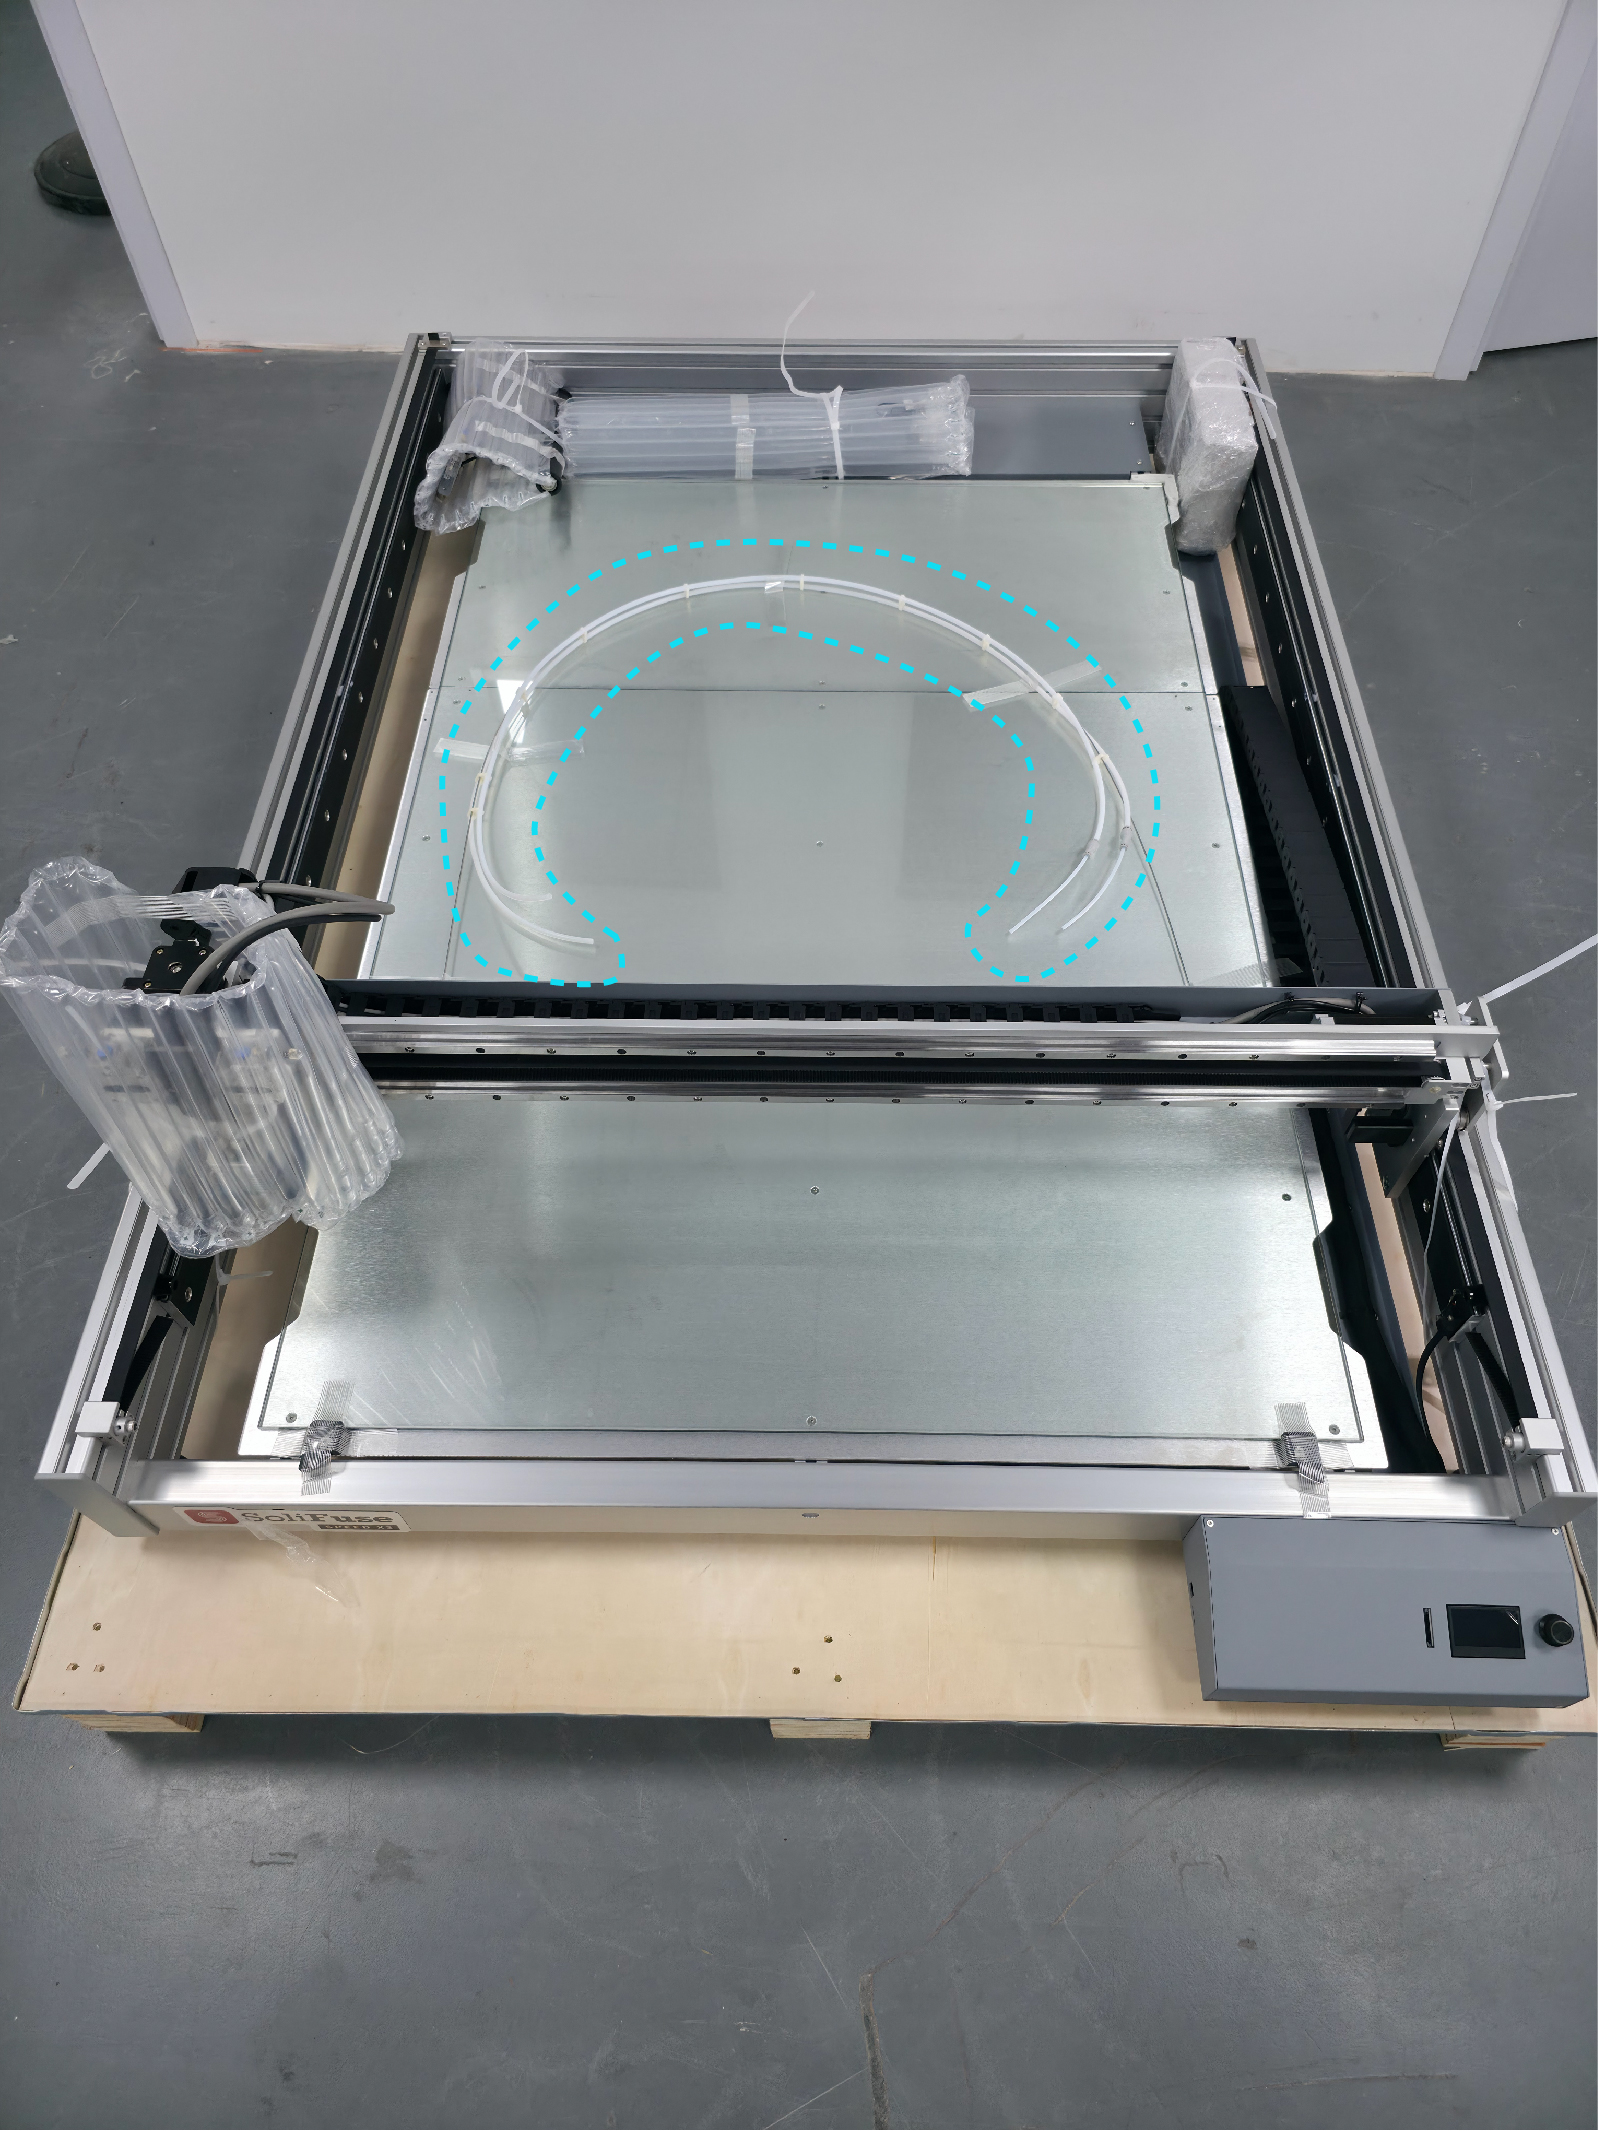
The steel wire and the filament loading tubes are taped to the surface of the build plate glass
¶ Install filament loading tube set
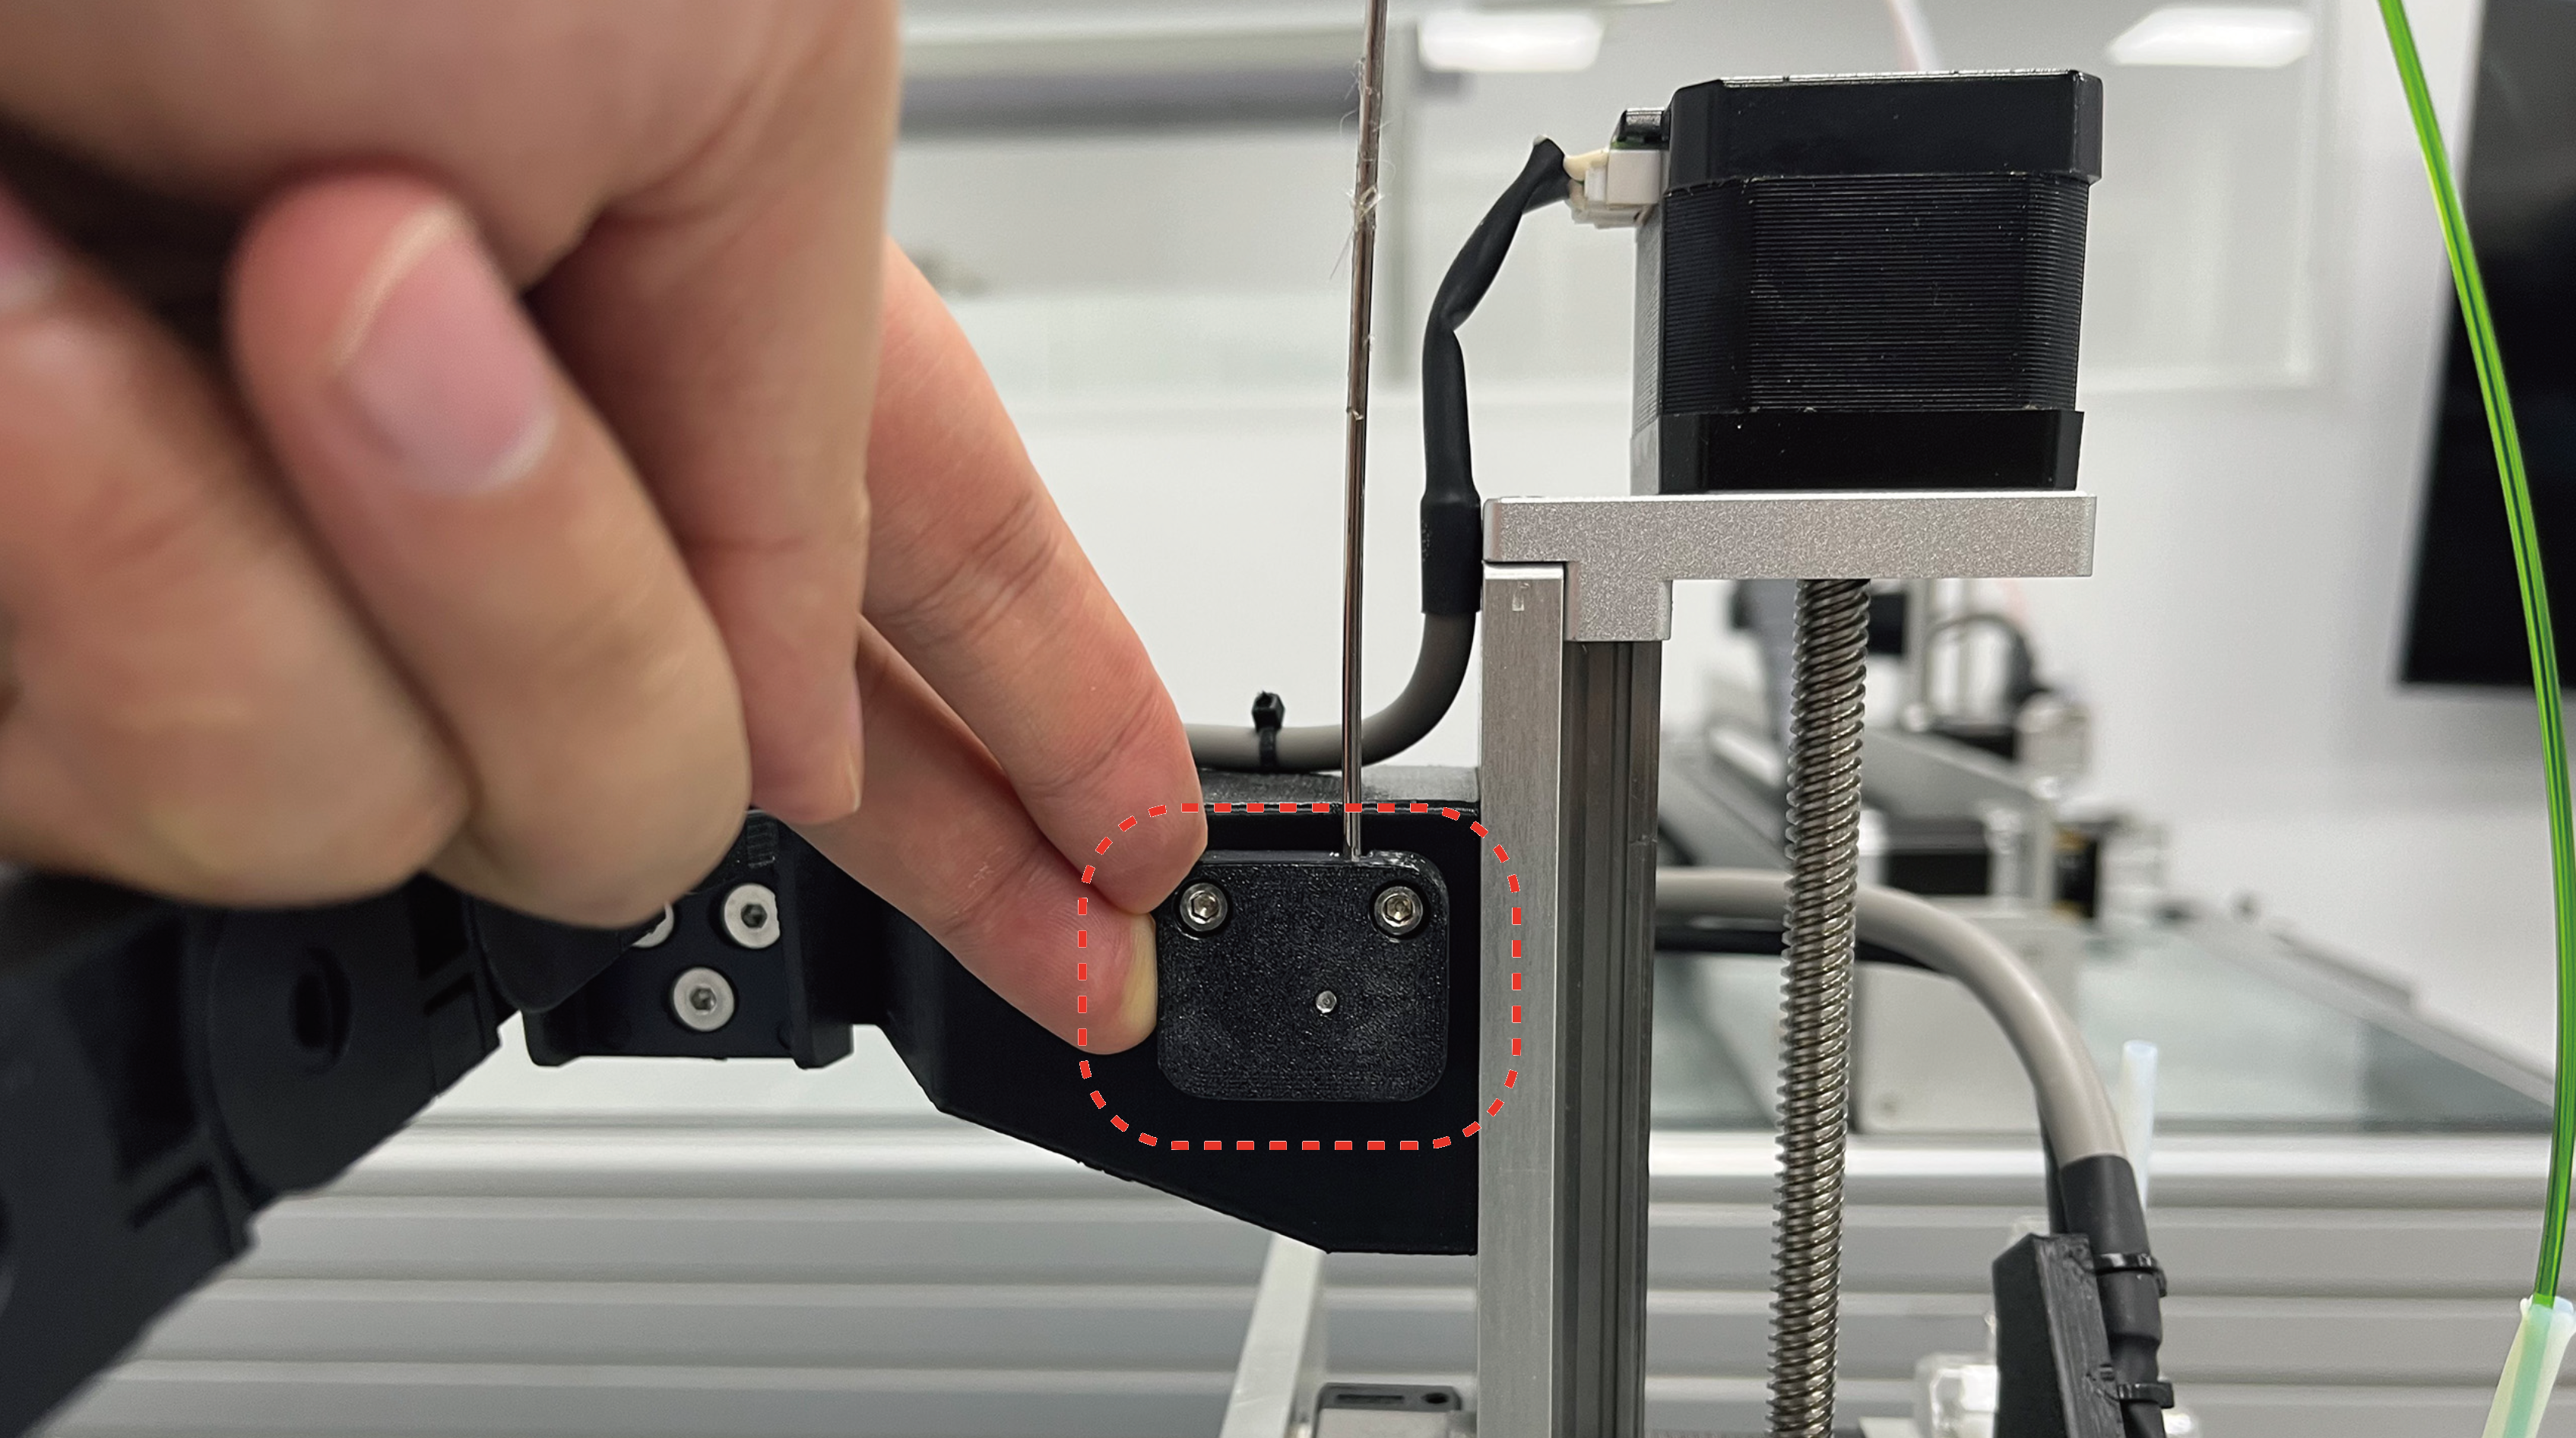
Tight the two short screws to mount the end of the wire to the drag chain bracket behind the Z motor.
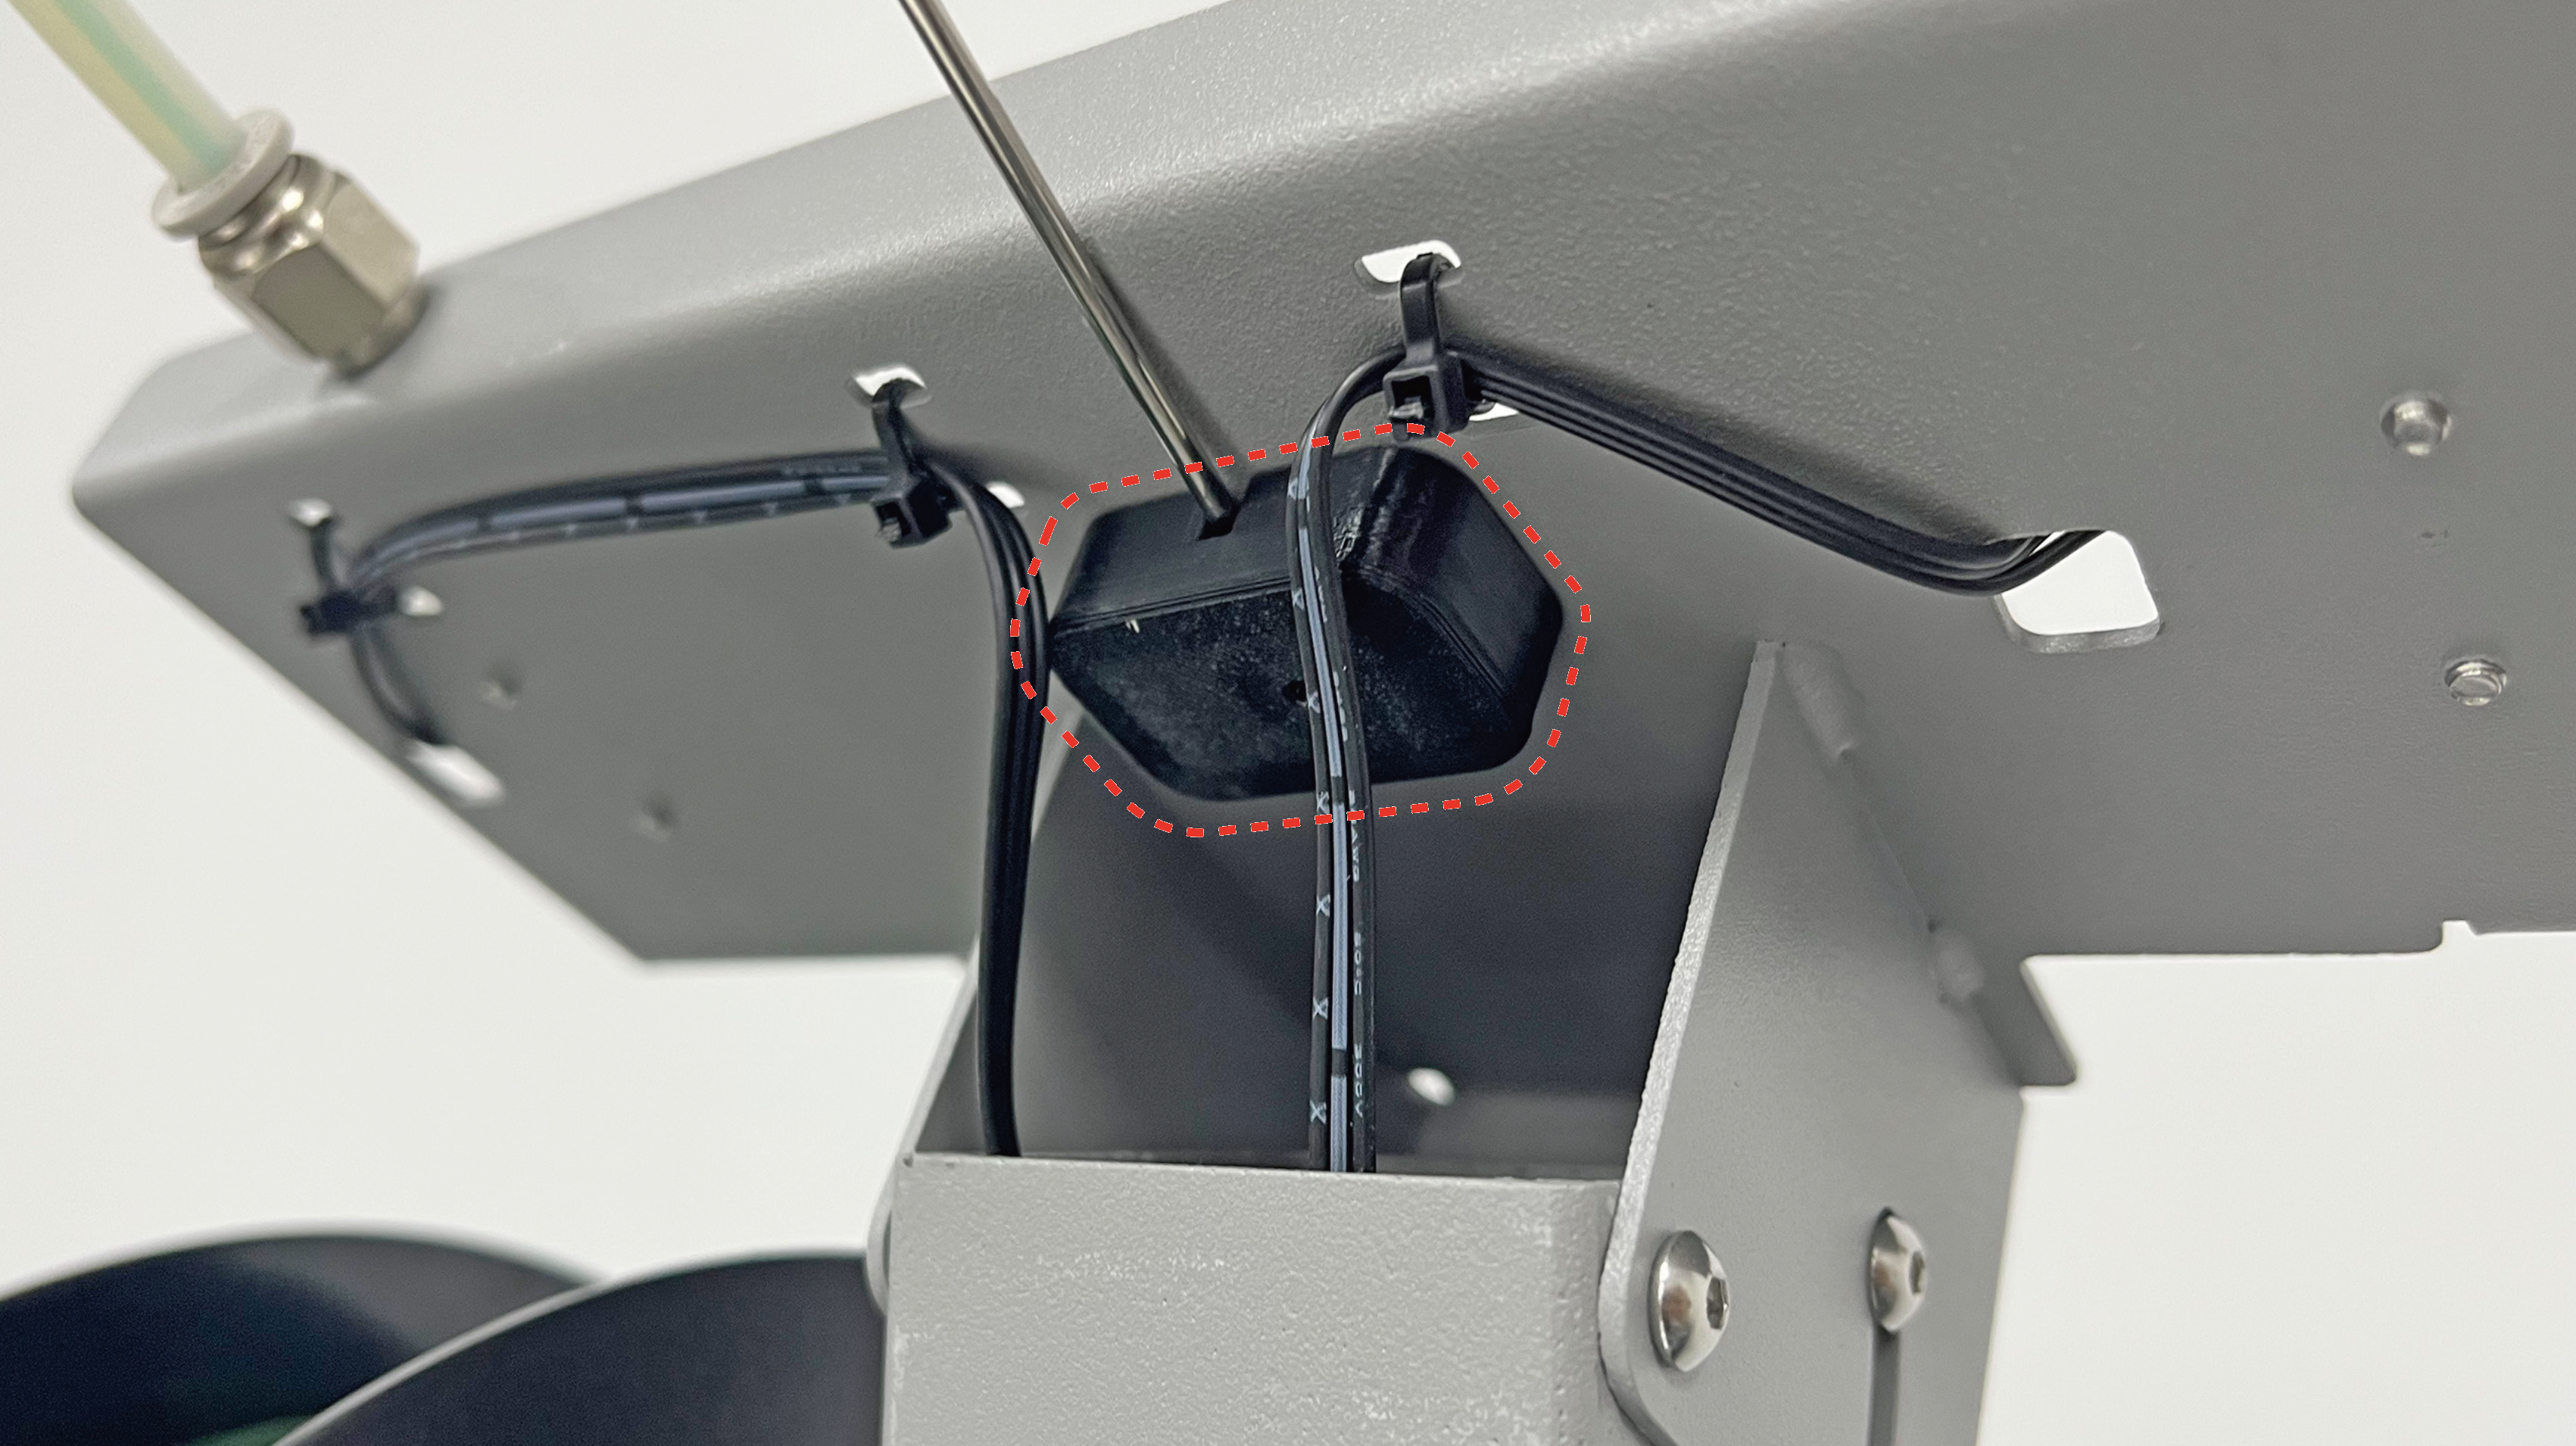
Install the other end of the steel wire to the underneath of the filament sensor panel.
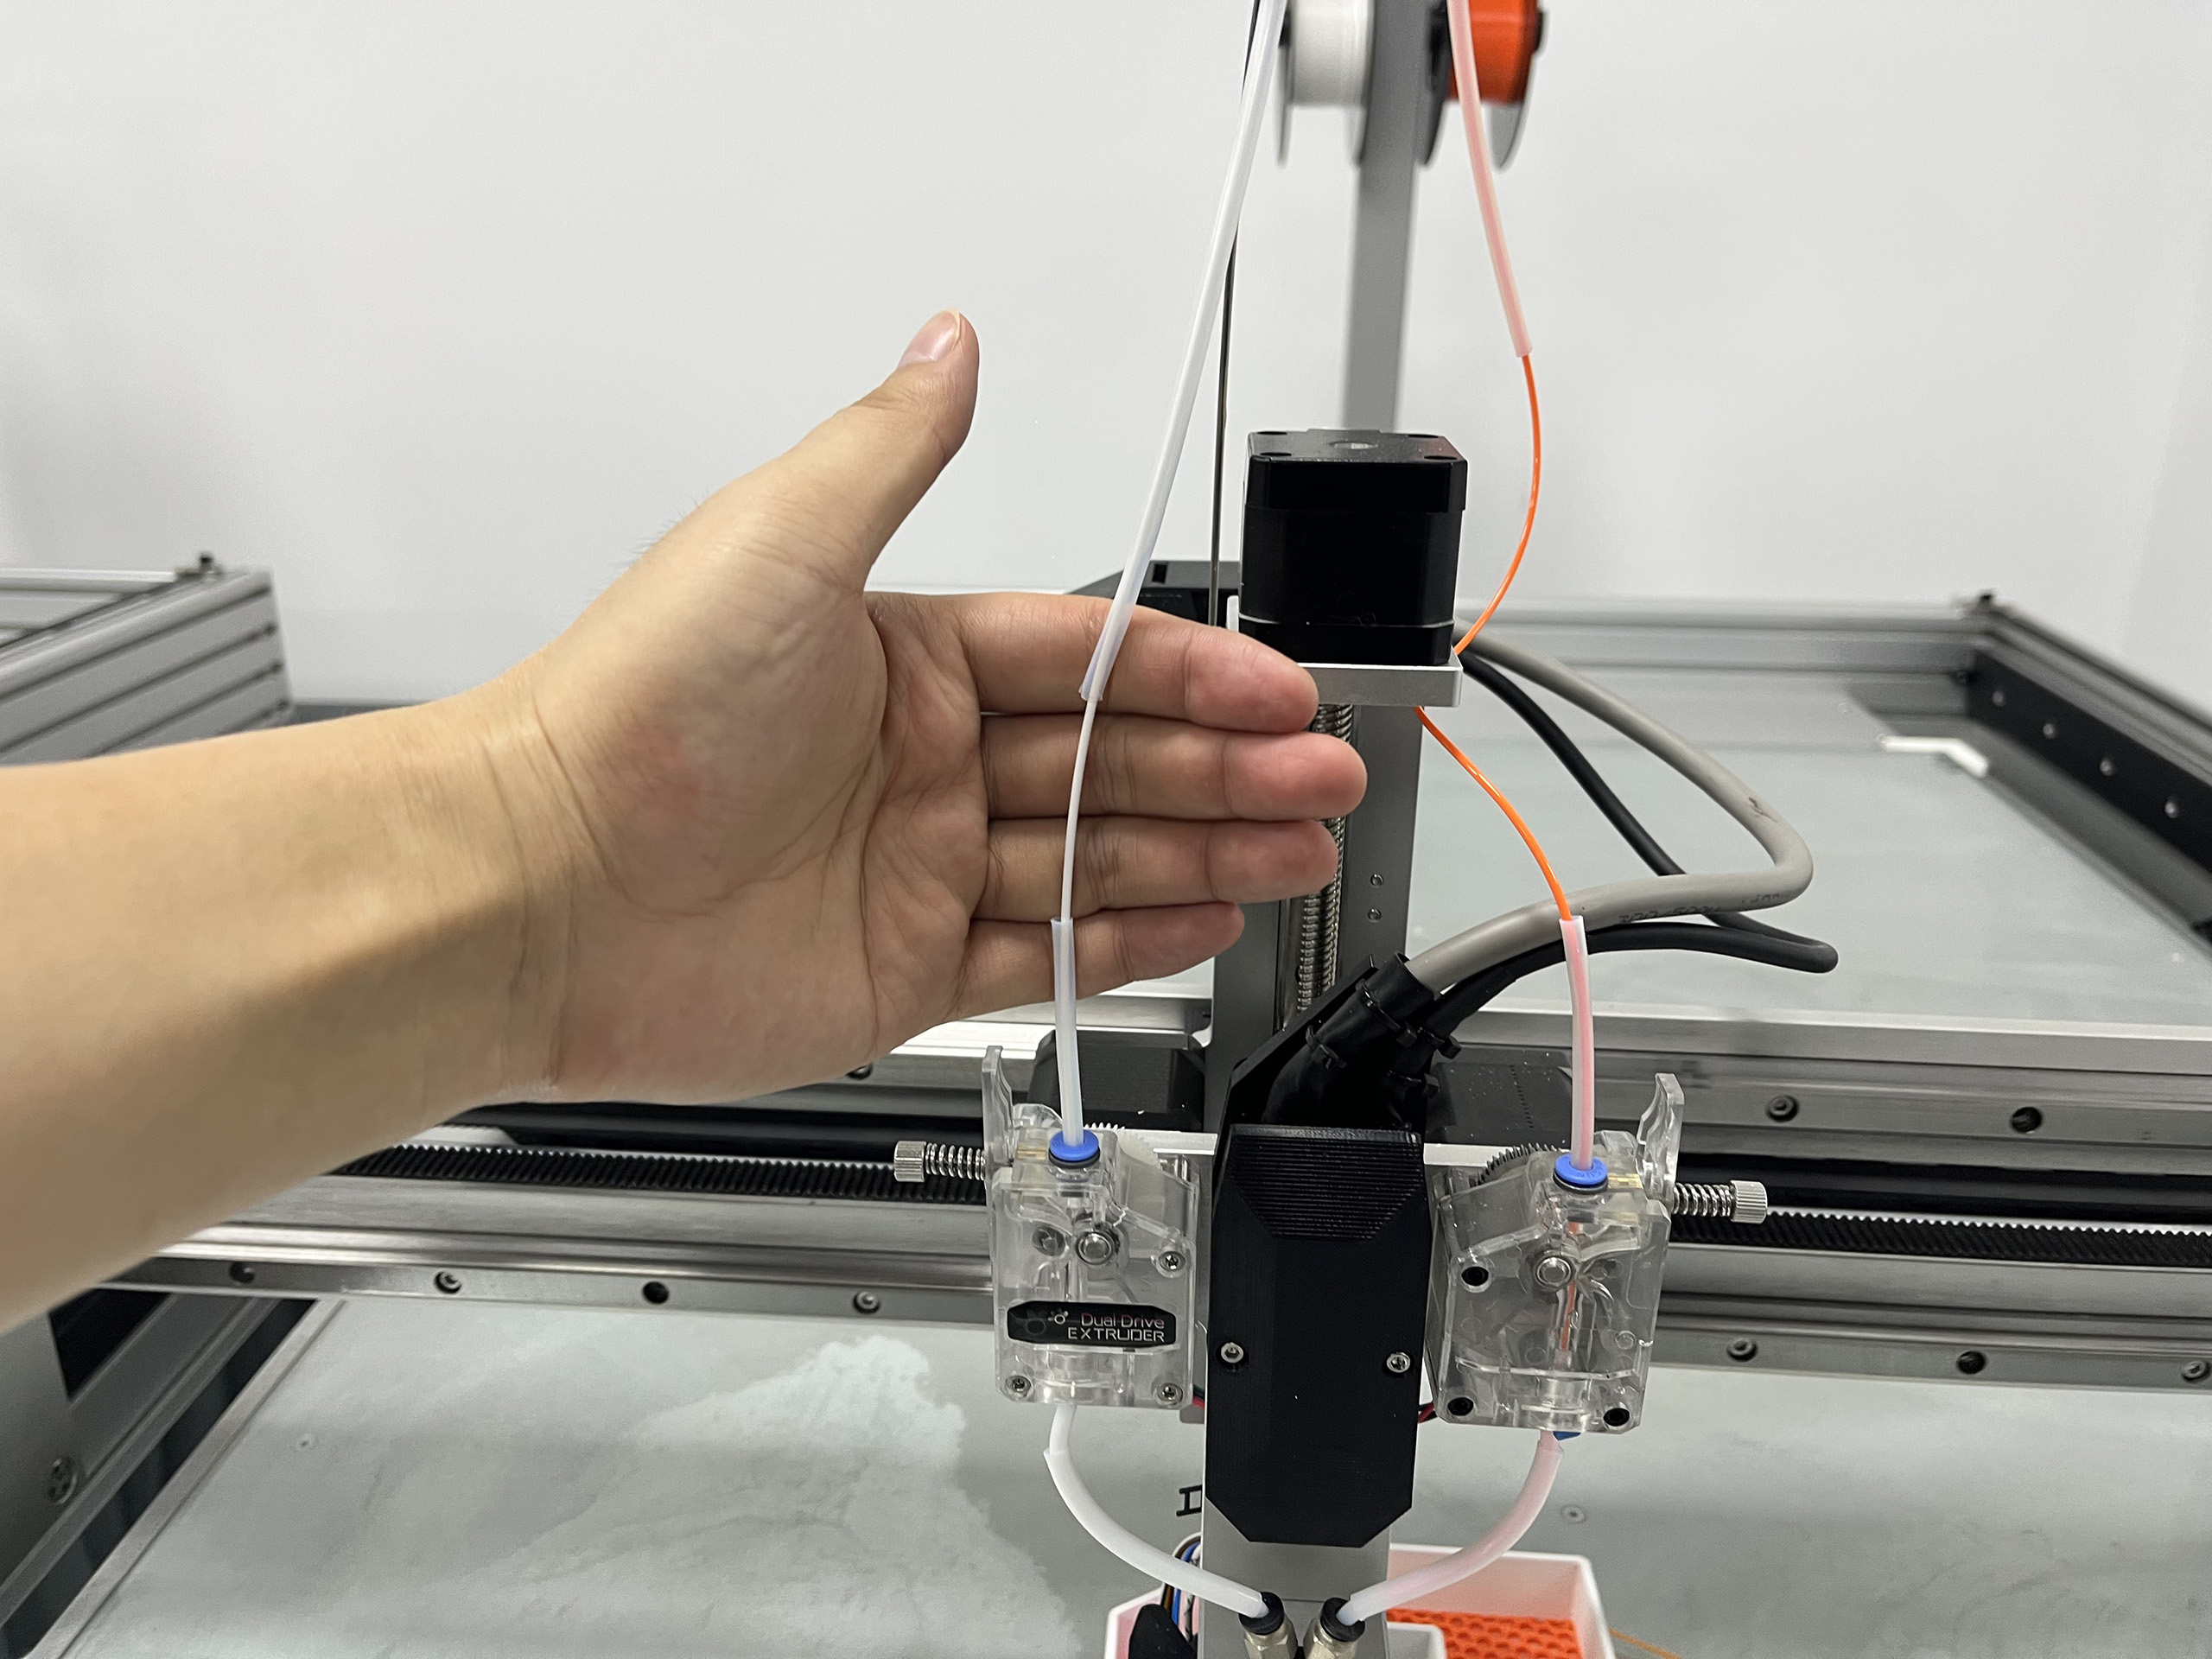
This is what the tubes look like after loading the filaments, the tubes are not connected.
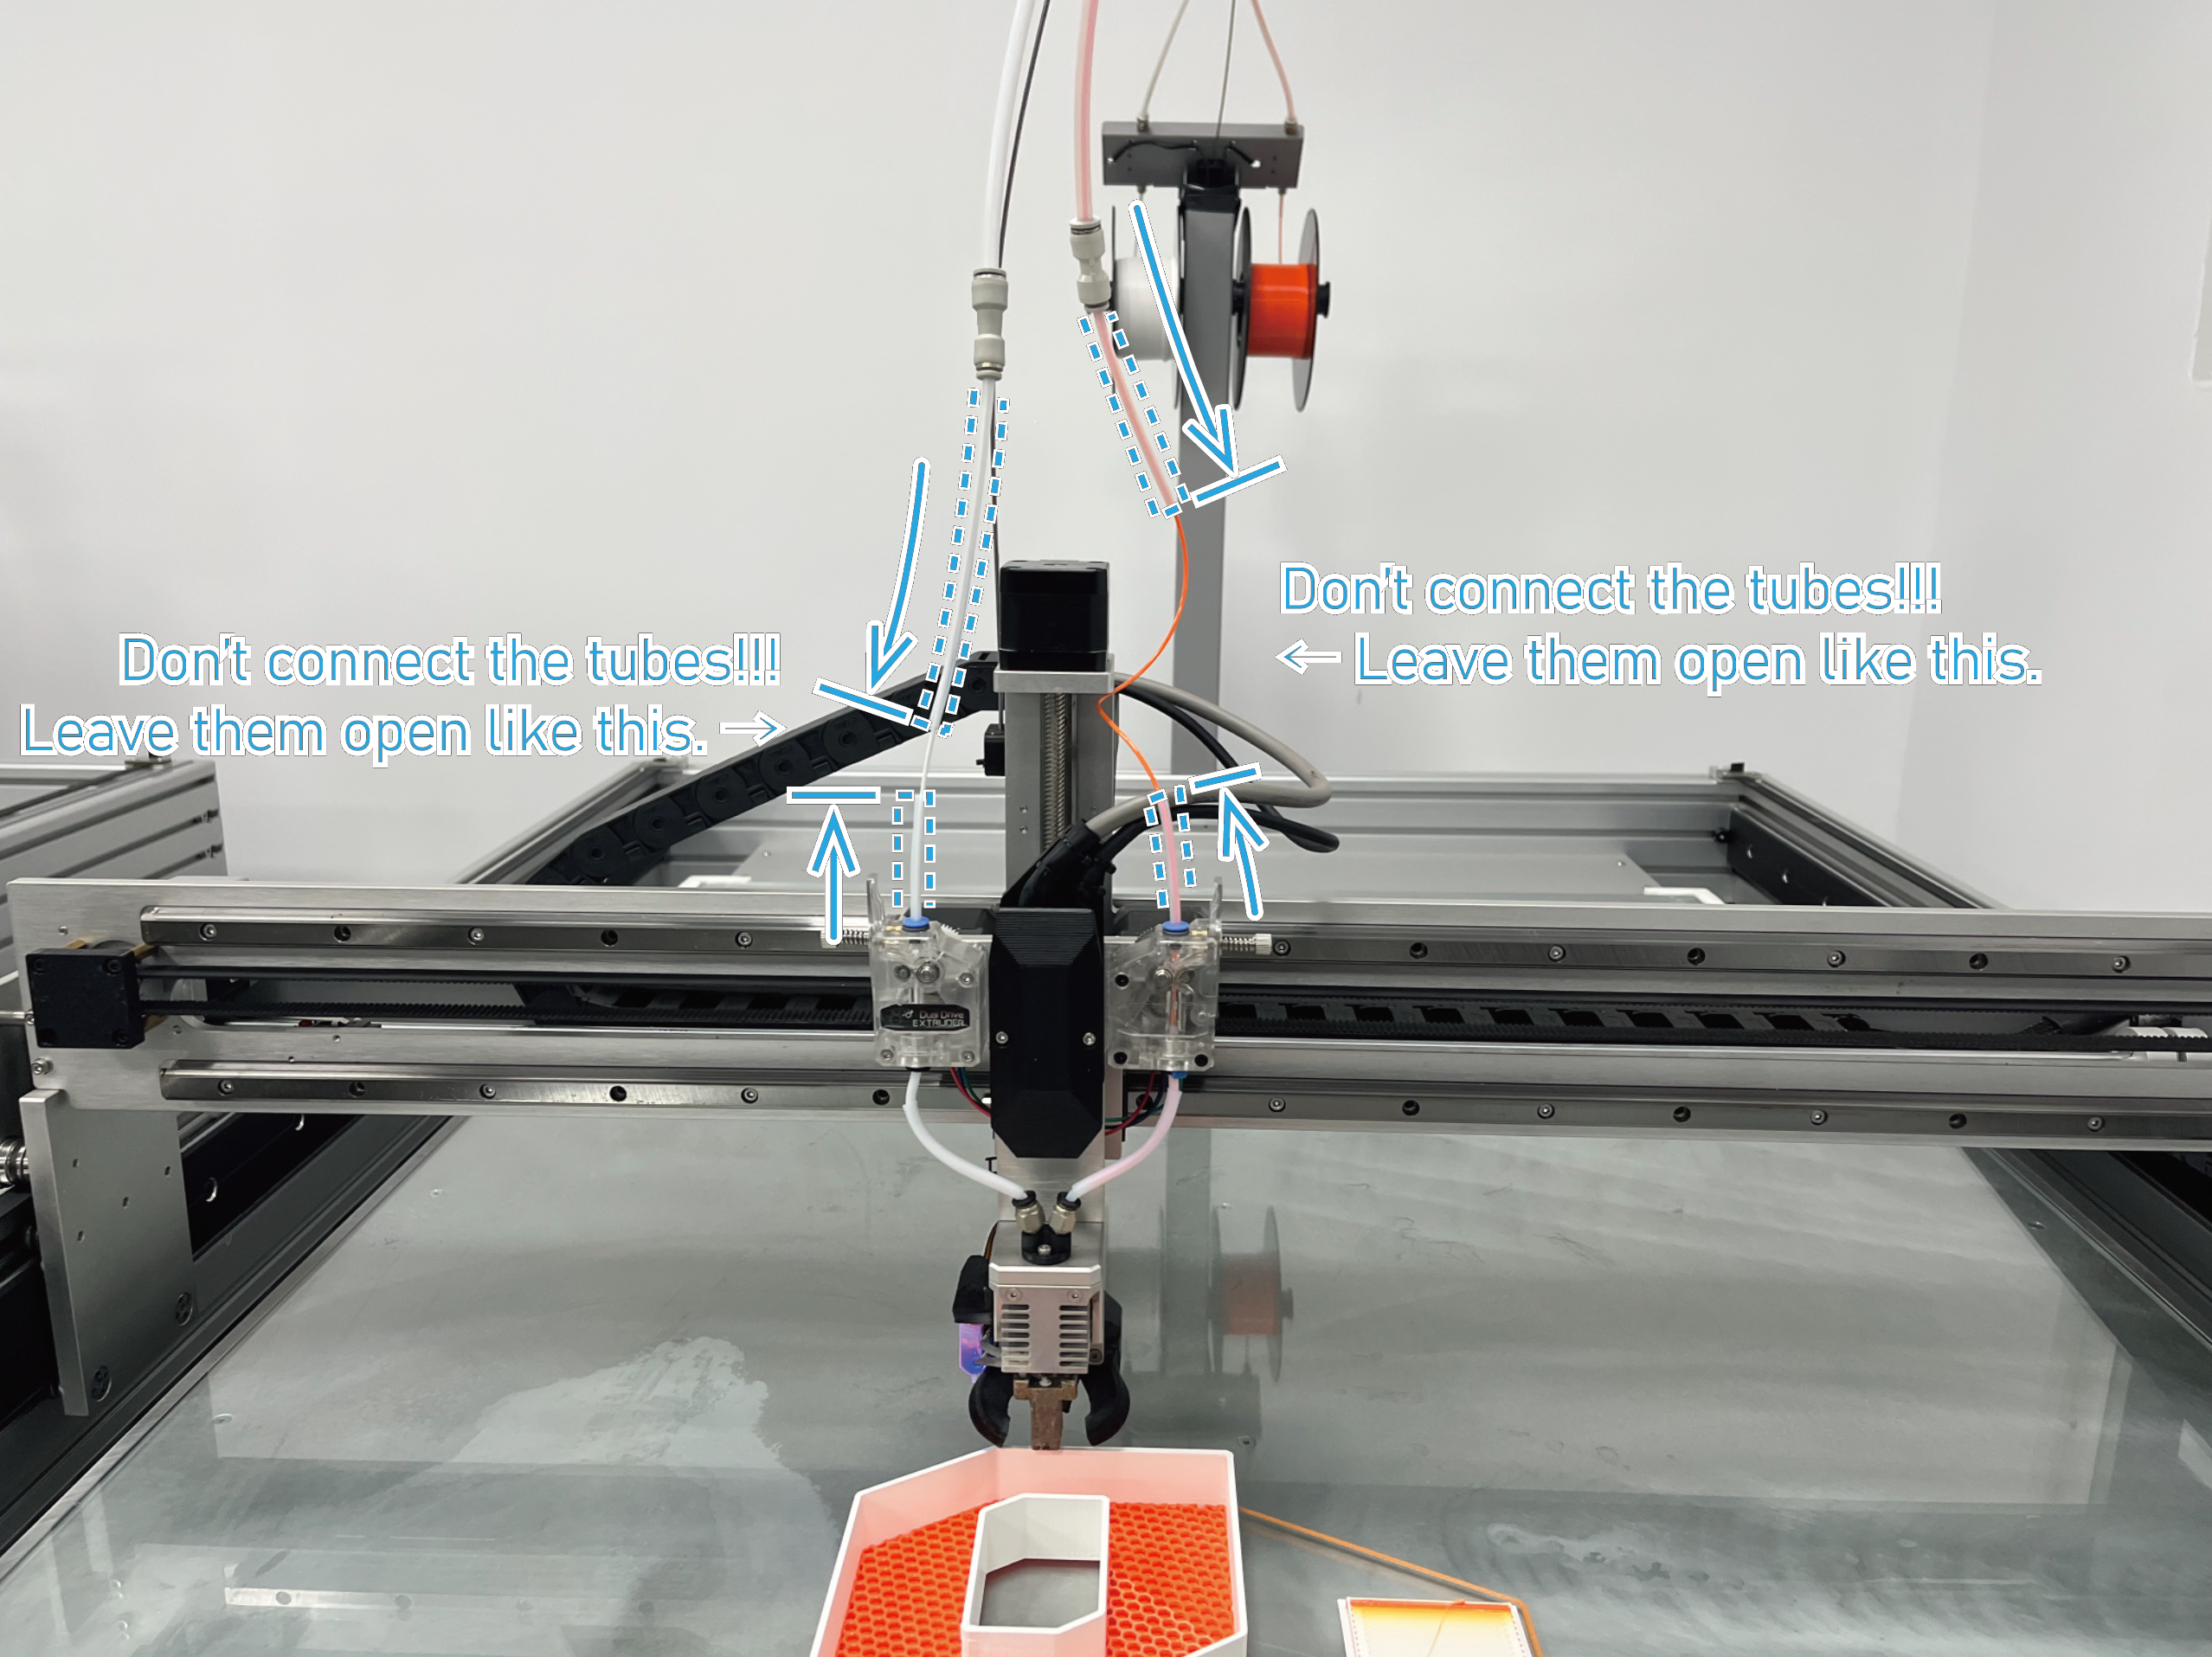
Please don't connect the short tubes above the extruders with the long filament loading tubes.
Why don't connect the tubes?
When the extruder withdraws or retracts the filament, it cannot push the filament back to the filament spool for nearly two meters.
The unconnected areas of the tubes are to store the filaments pulled out by the extruders.
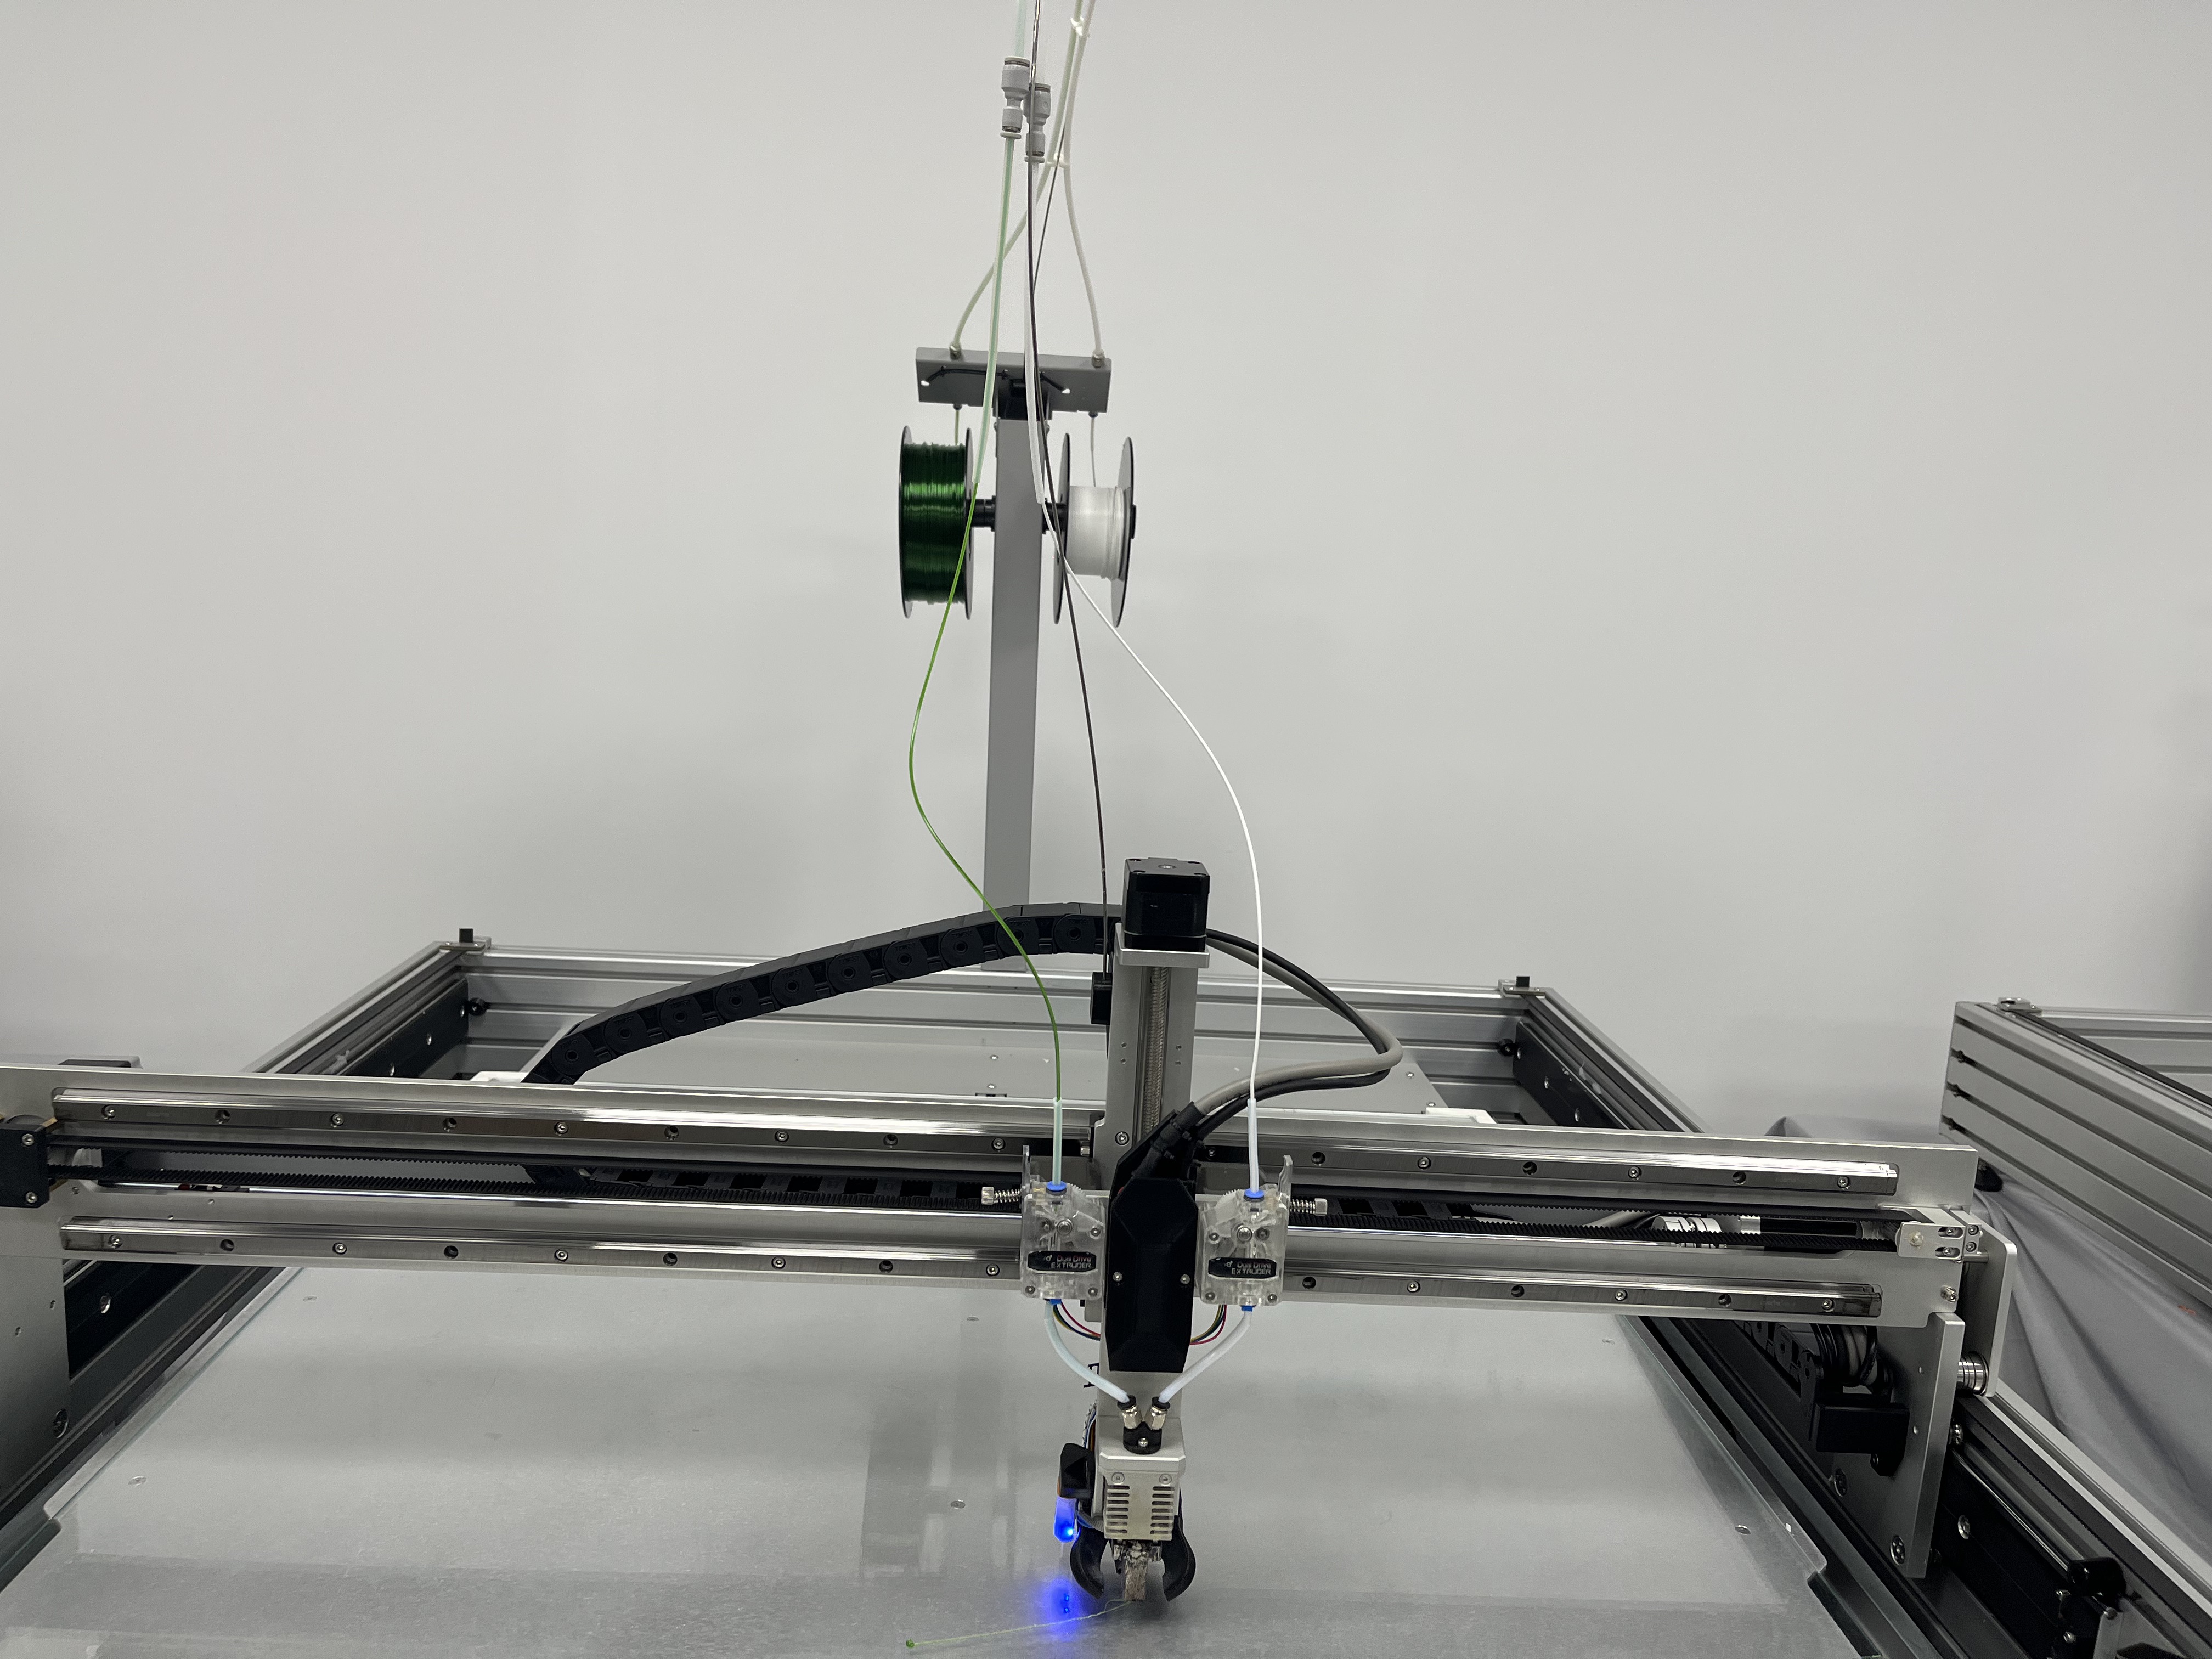
This is what it looks like during printing