Unproperly Z-offset setting will result in print failures!
As we have emphasized the importance of calibration, what we will do in this article is guiding you to set a proper Z-offset value.
Let's do it step by step.
¶ 1. Prepare test paper
Take out the paper delivered in the tool box.
It's 140g office paper. If you miss the paper that comes with the printer, you can buy it in your local market.
¶ 2. Prepare Paper Test
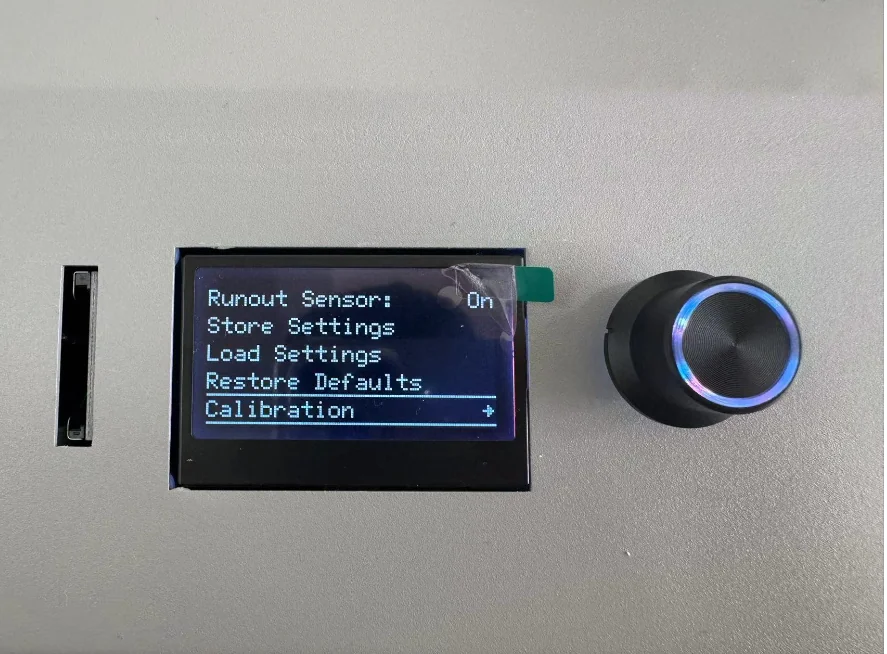
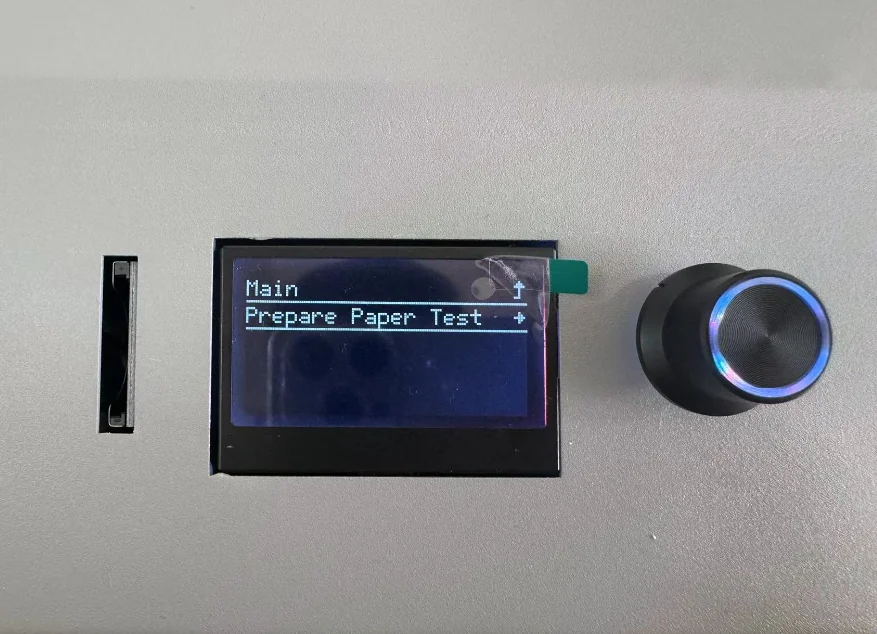
Before setting the Z-offset with the test paper, we need to level the build plate to prepare a basic calibrated status for the next step.
|
|
The printer will collect the data of the build plate surface one by one. ↓
When the build plate leveling is done, the printer will inform you with three beeps.
¶ 3. Adjust Z-offset
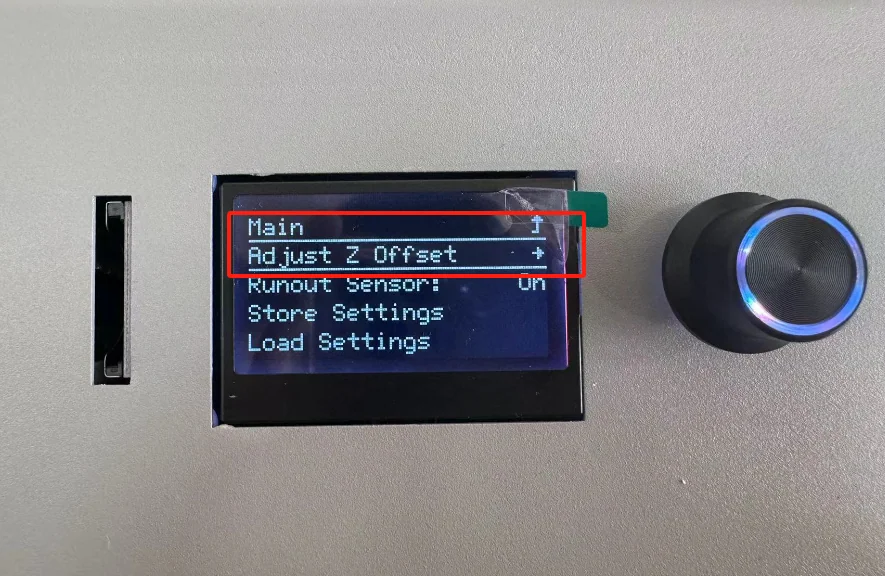
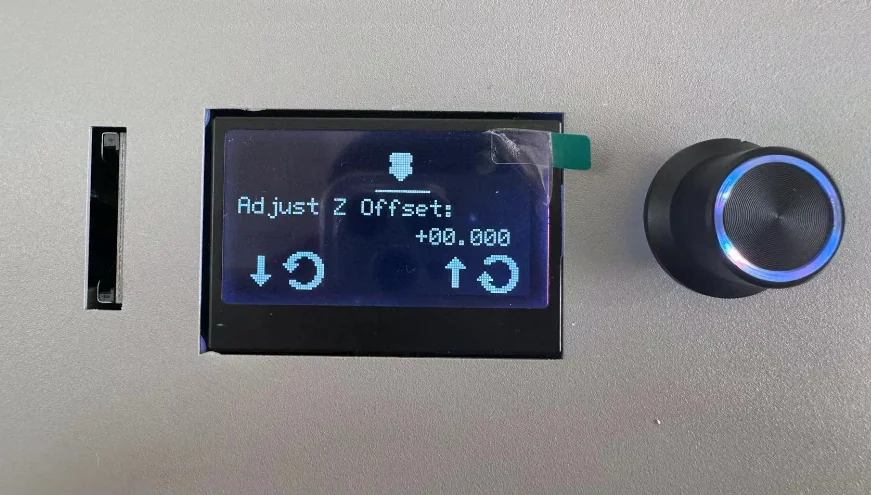
¶ 3.1 Run "Adjust Z-offset" program
Once the surface data collection is complete, the print head will move to the right side of the build plate, and the system will return to the homepage.
|
|
¶ 3.2 Paper test
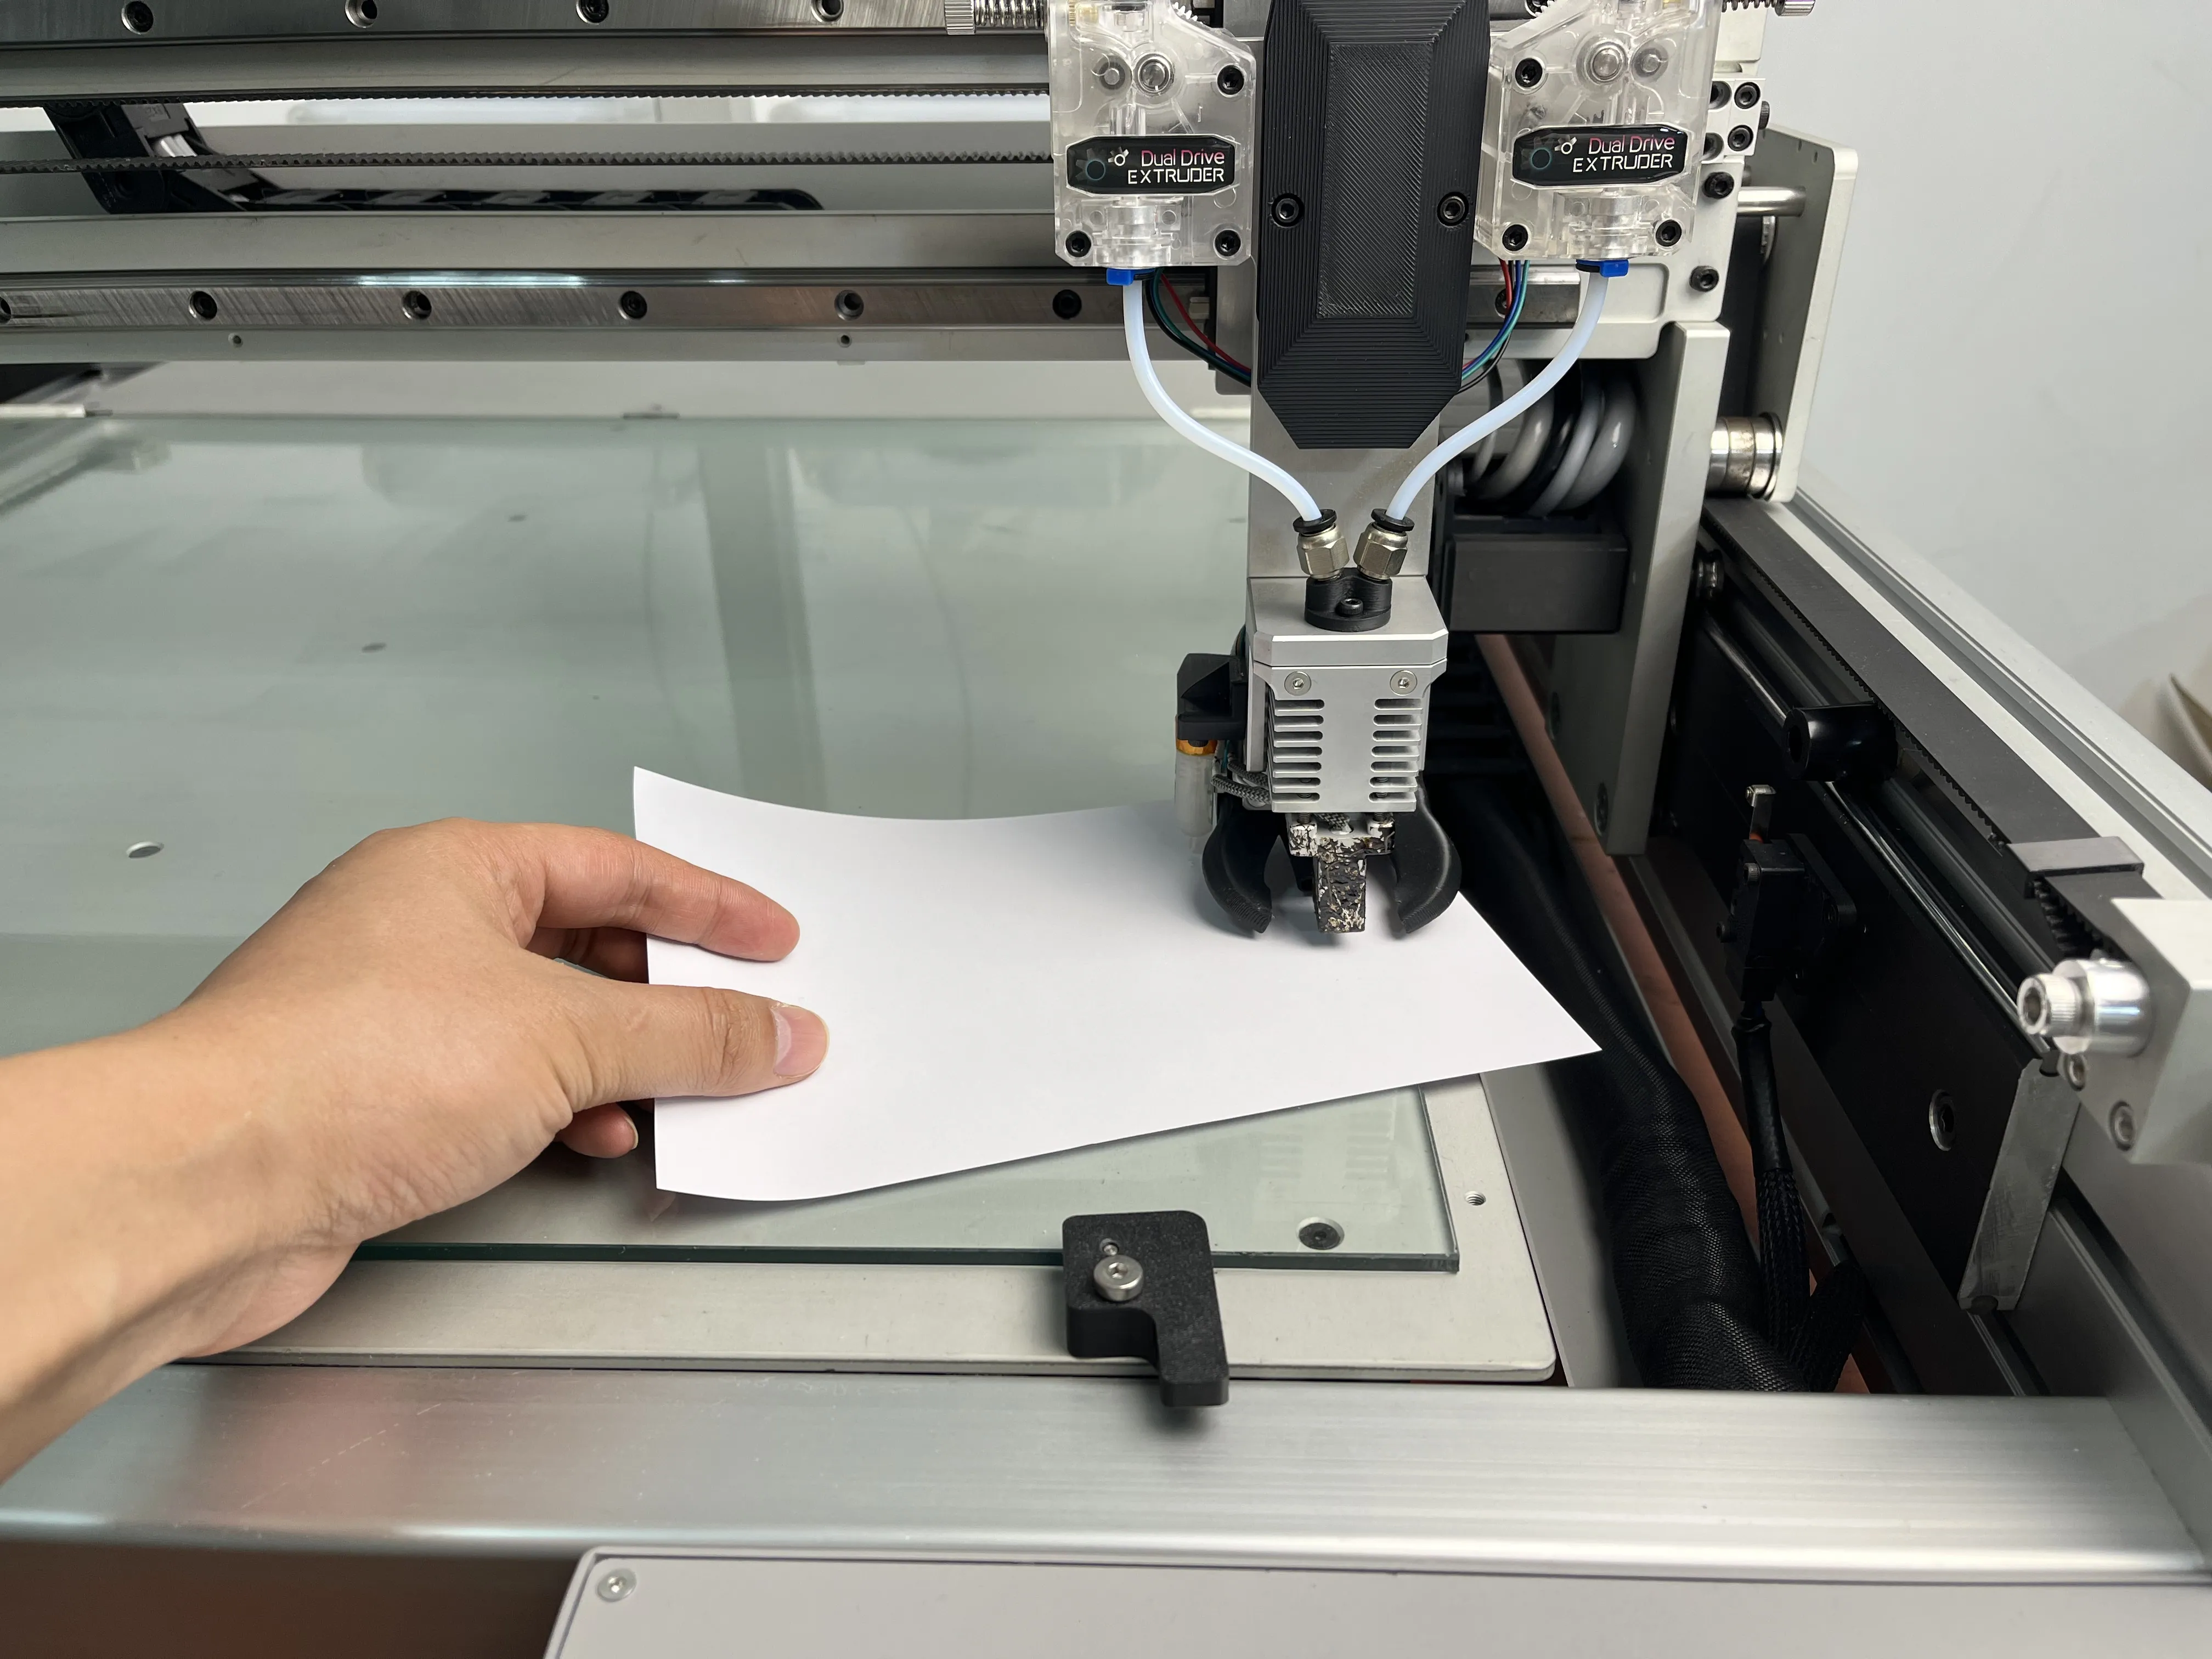
Take out the test paper and put it under the nozzle. ↑
Move the test paper under the nozzle back and forth. ↑
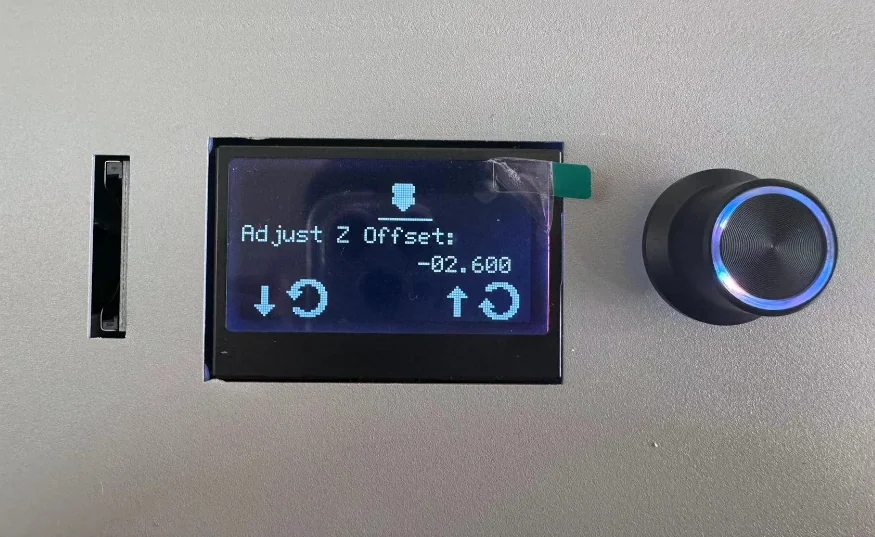
In the meantime, anticlockwise rotate the knob to lower the print head. ↑
Stop lowering the print head when you feel resistance but still can move the paper. ↑
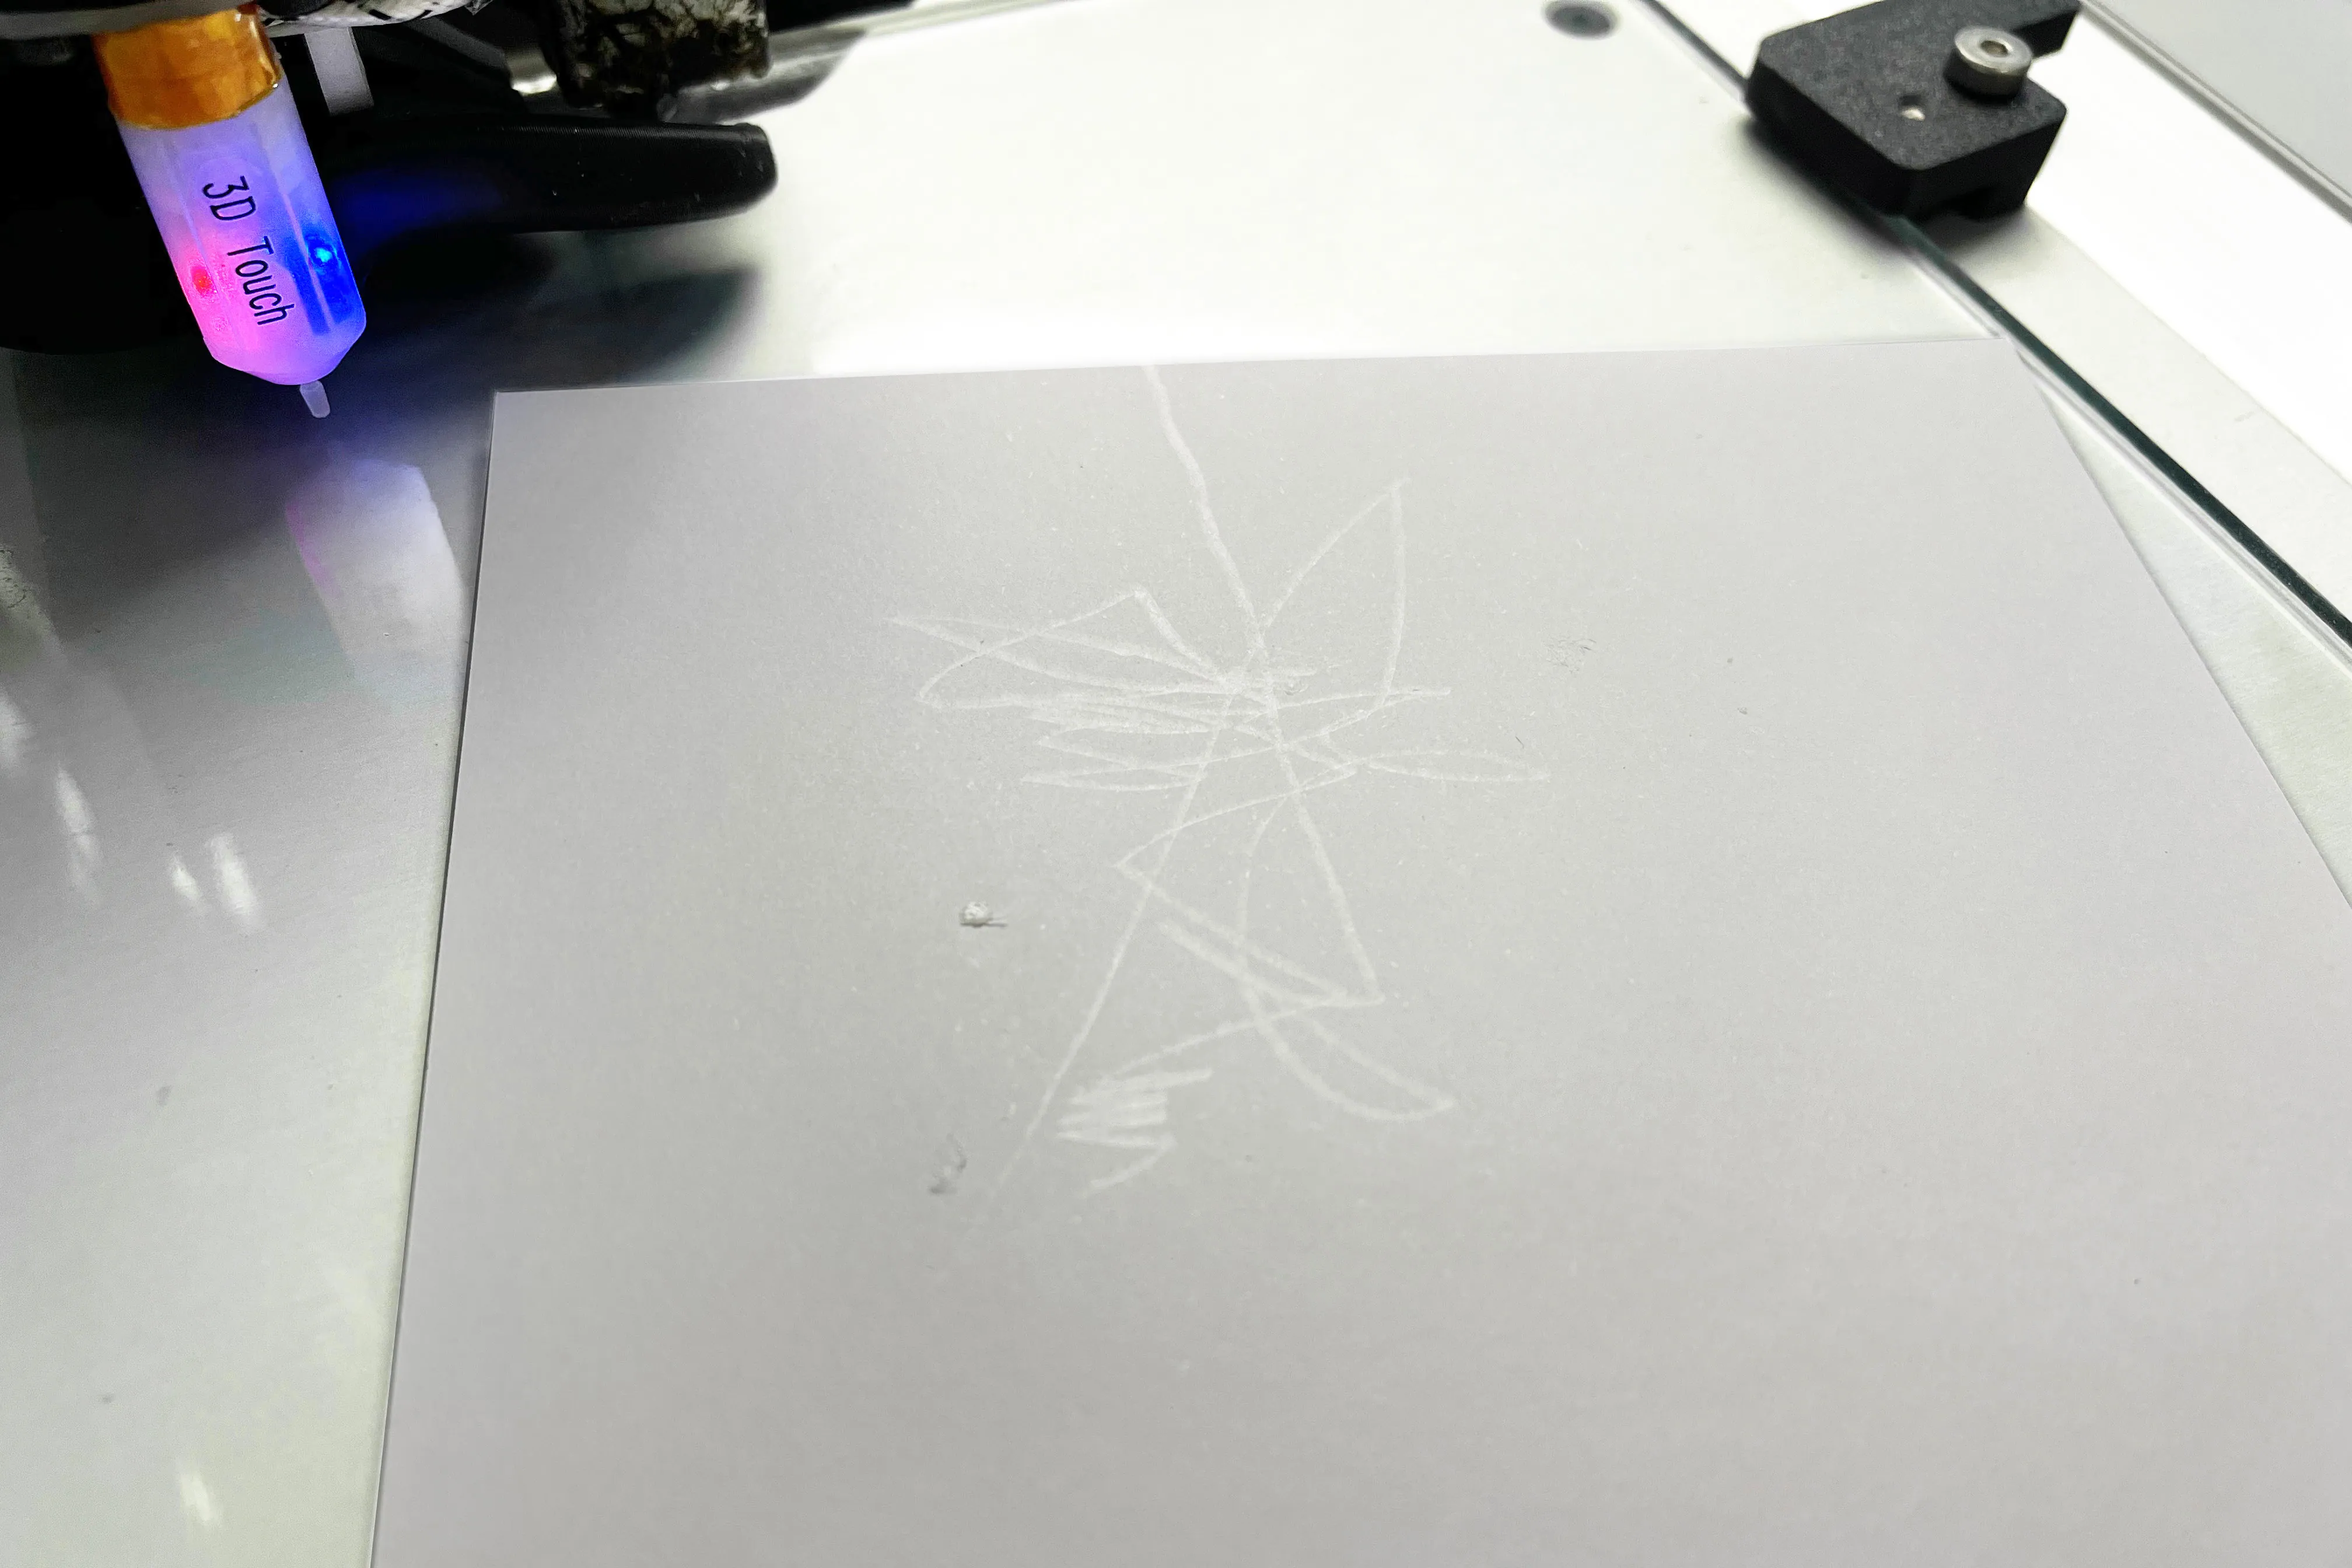
¶ 3.3 Confirm and adjust the Z-offset value
Please download the Z-offset test G-code file and save it into your SD card, then load the filaments and plug the SD card into the printer, load the G-code file and start the test.
| Speed X2 | Speed X3 | |
|---|---|---|
| Test G-code files | X2 Z-offset test G-code file | X3 Z-offset test G-code file |
Here is a video guide for your reference to better understand what a proper Z-offset value is, and what too big or too small Z-offset value will cause:
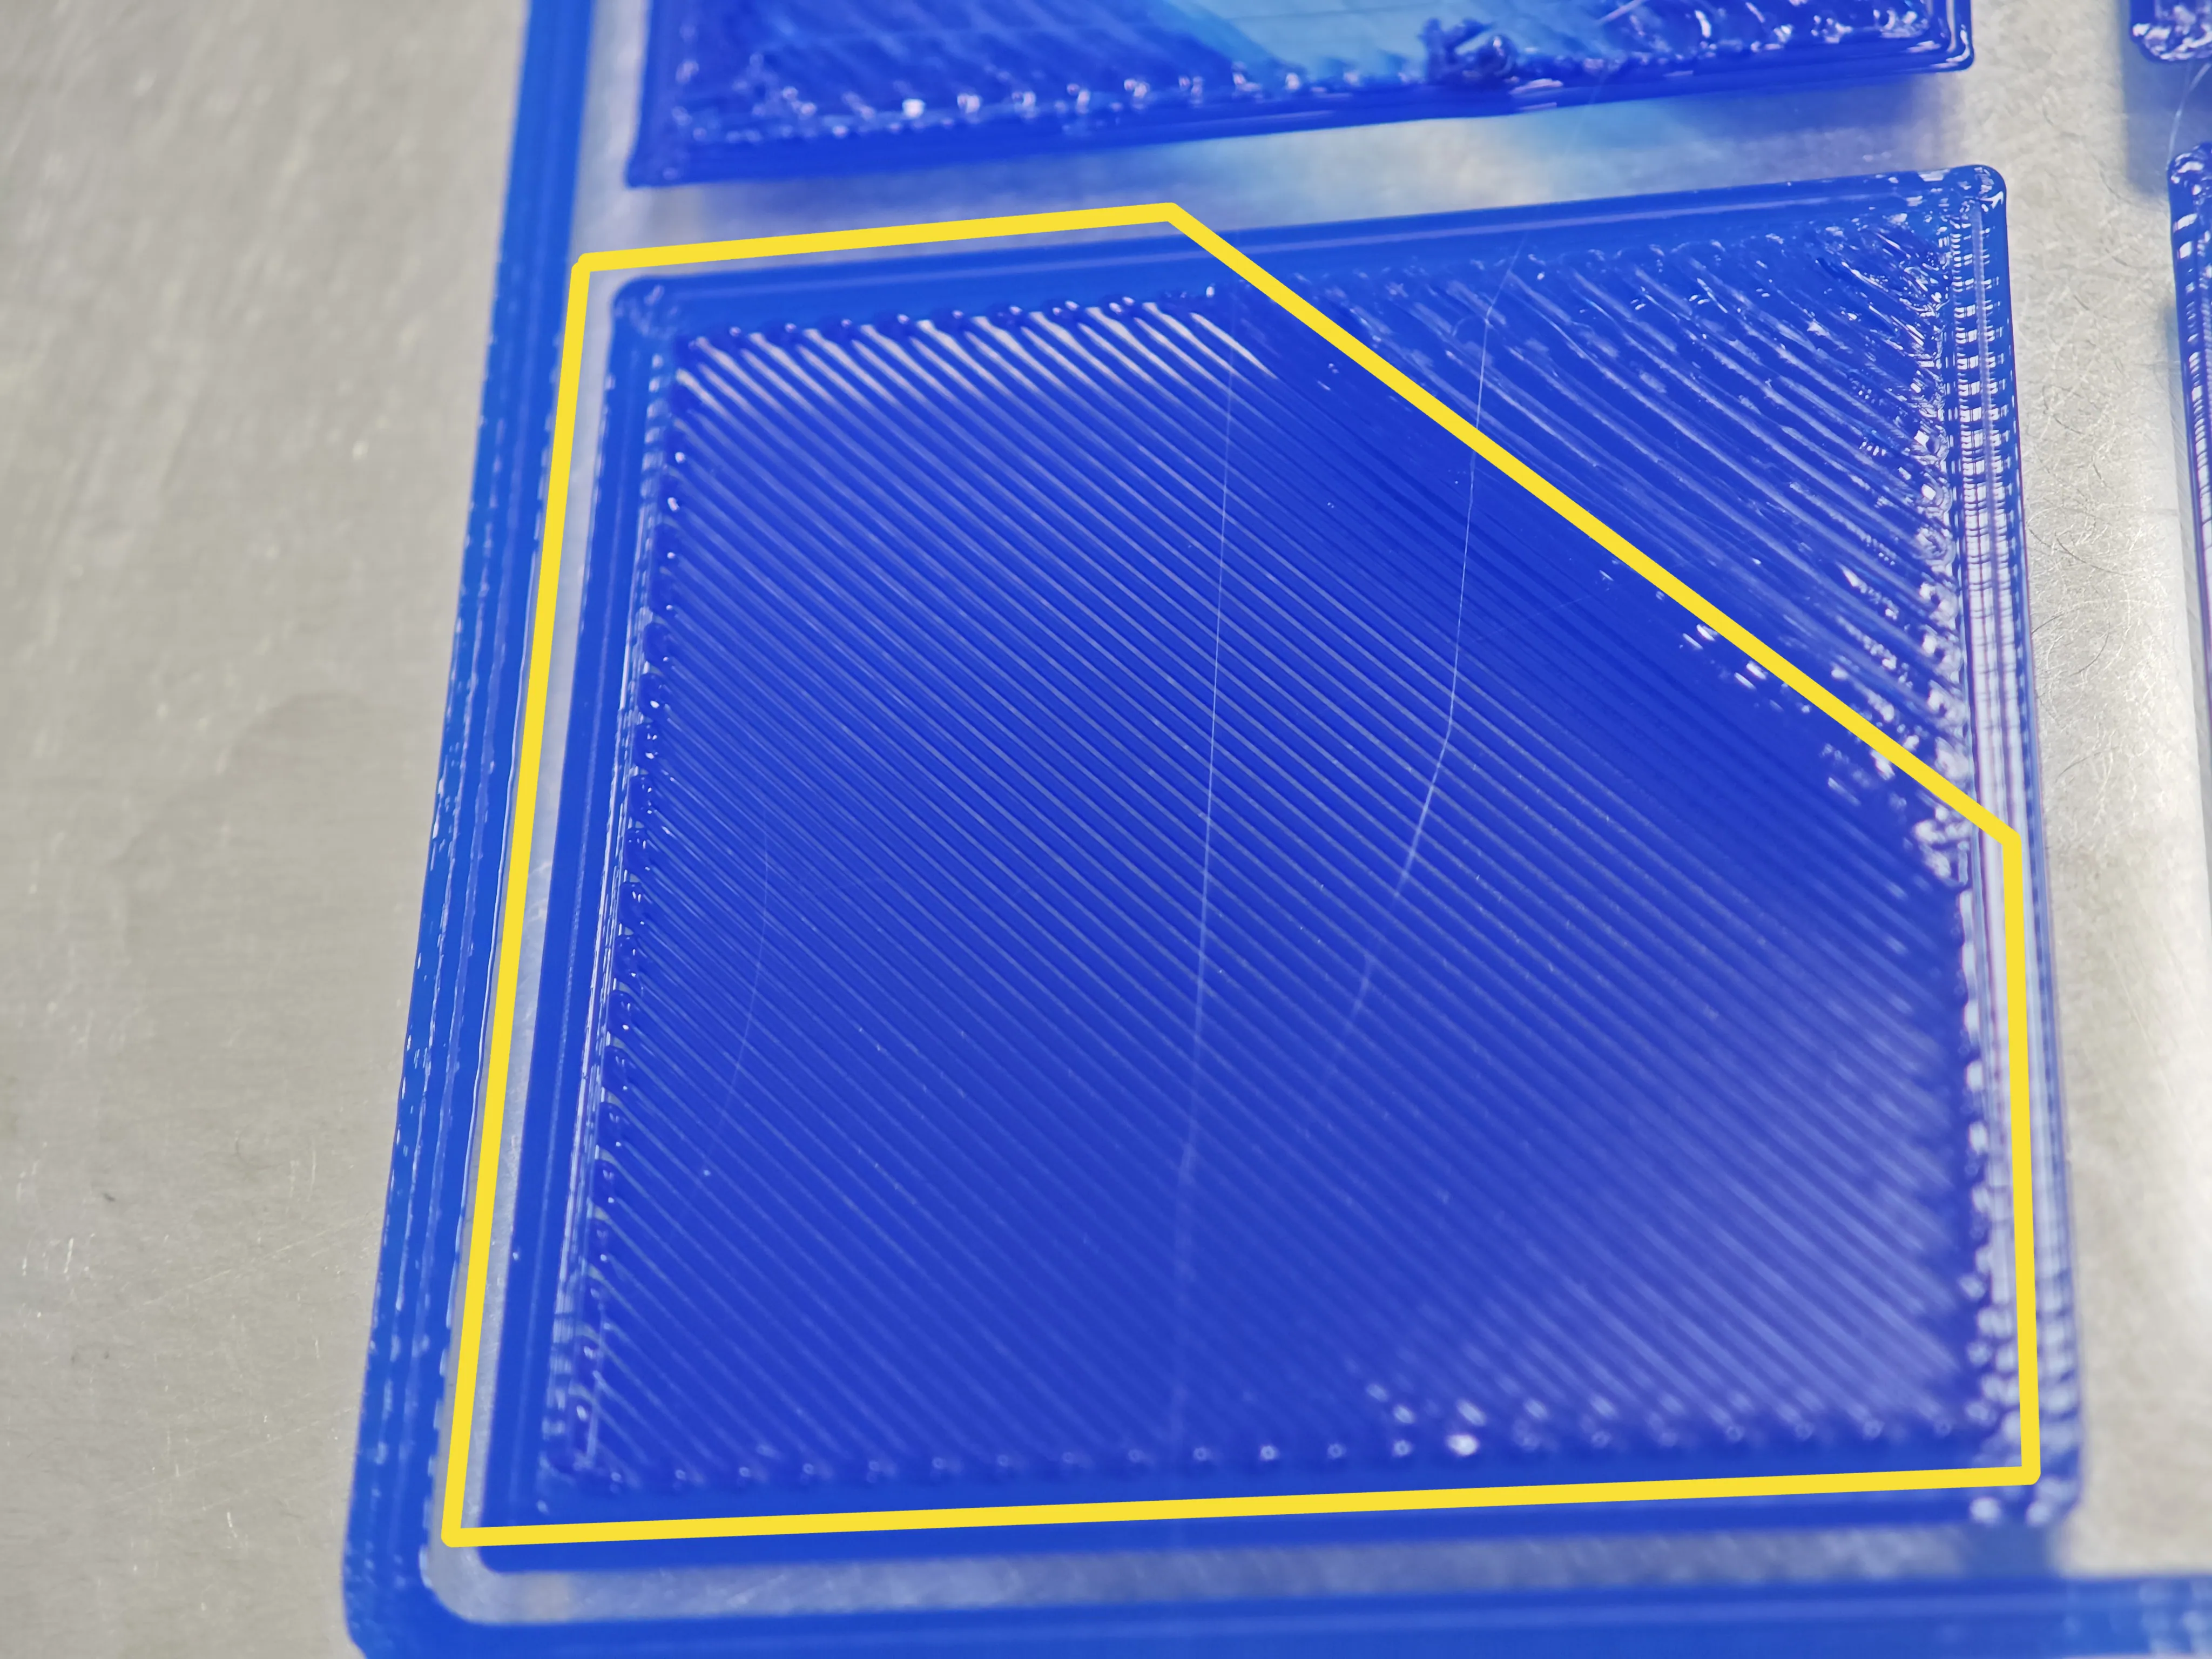
Here are three extrusion comparison photos of too big, too small and proper Z-offset values:
(Please click to zoom in the photos)
|
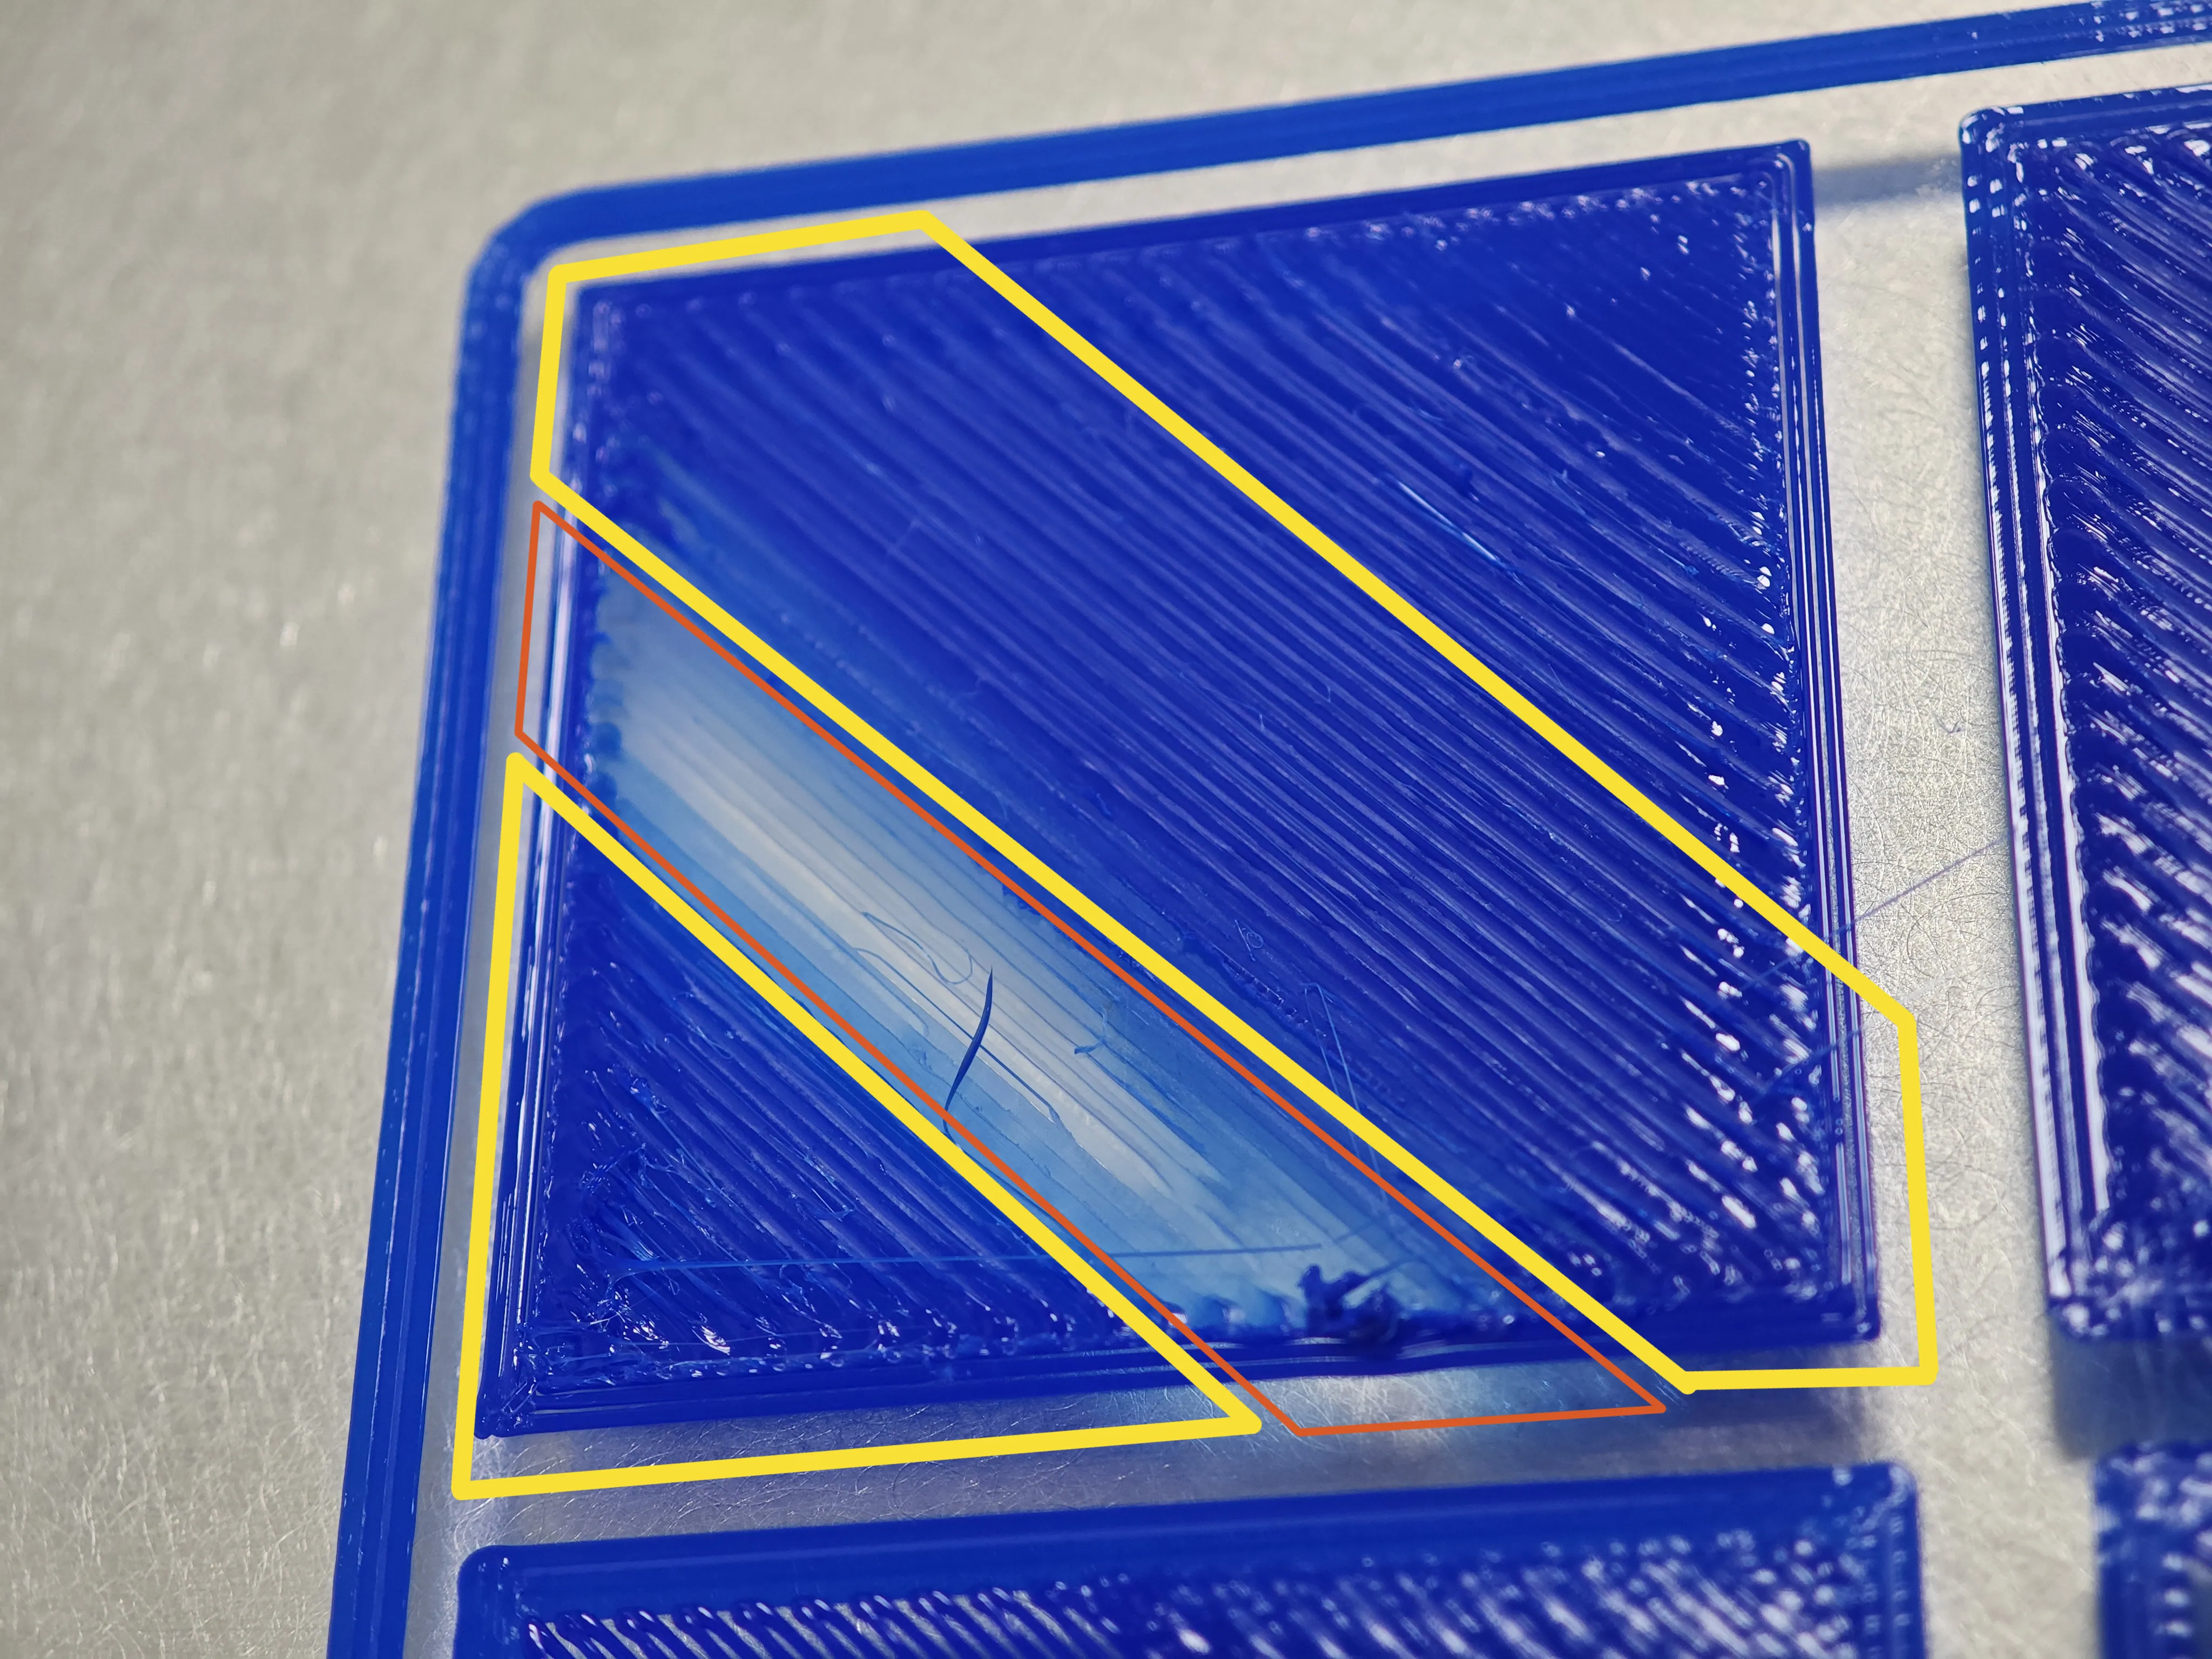
In the red mark, the print head cannot extruder the plastic, normally will make crack noises. |
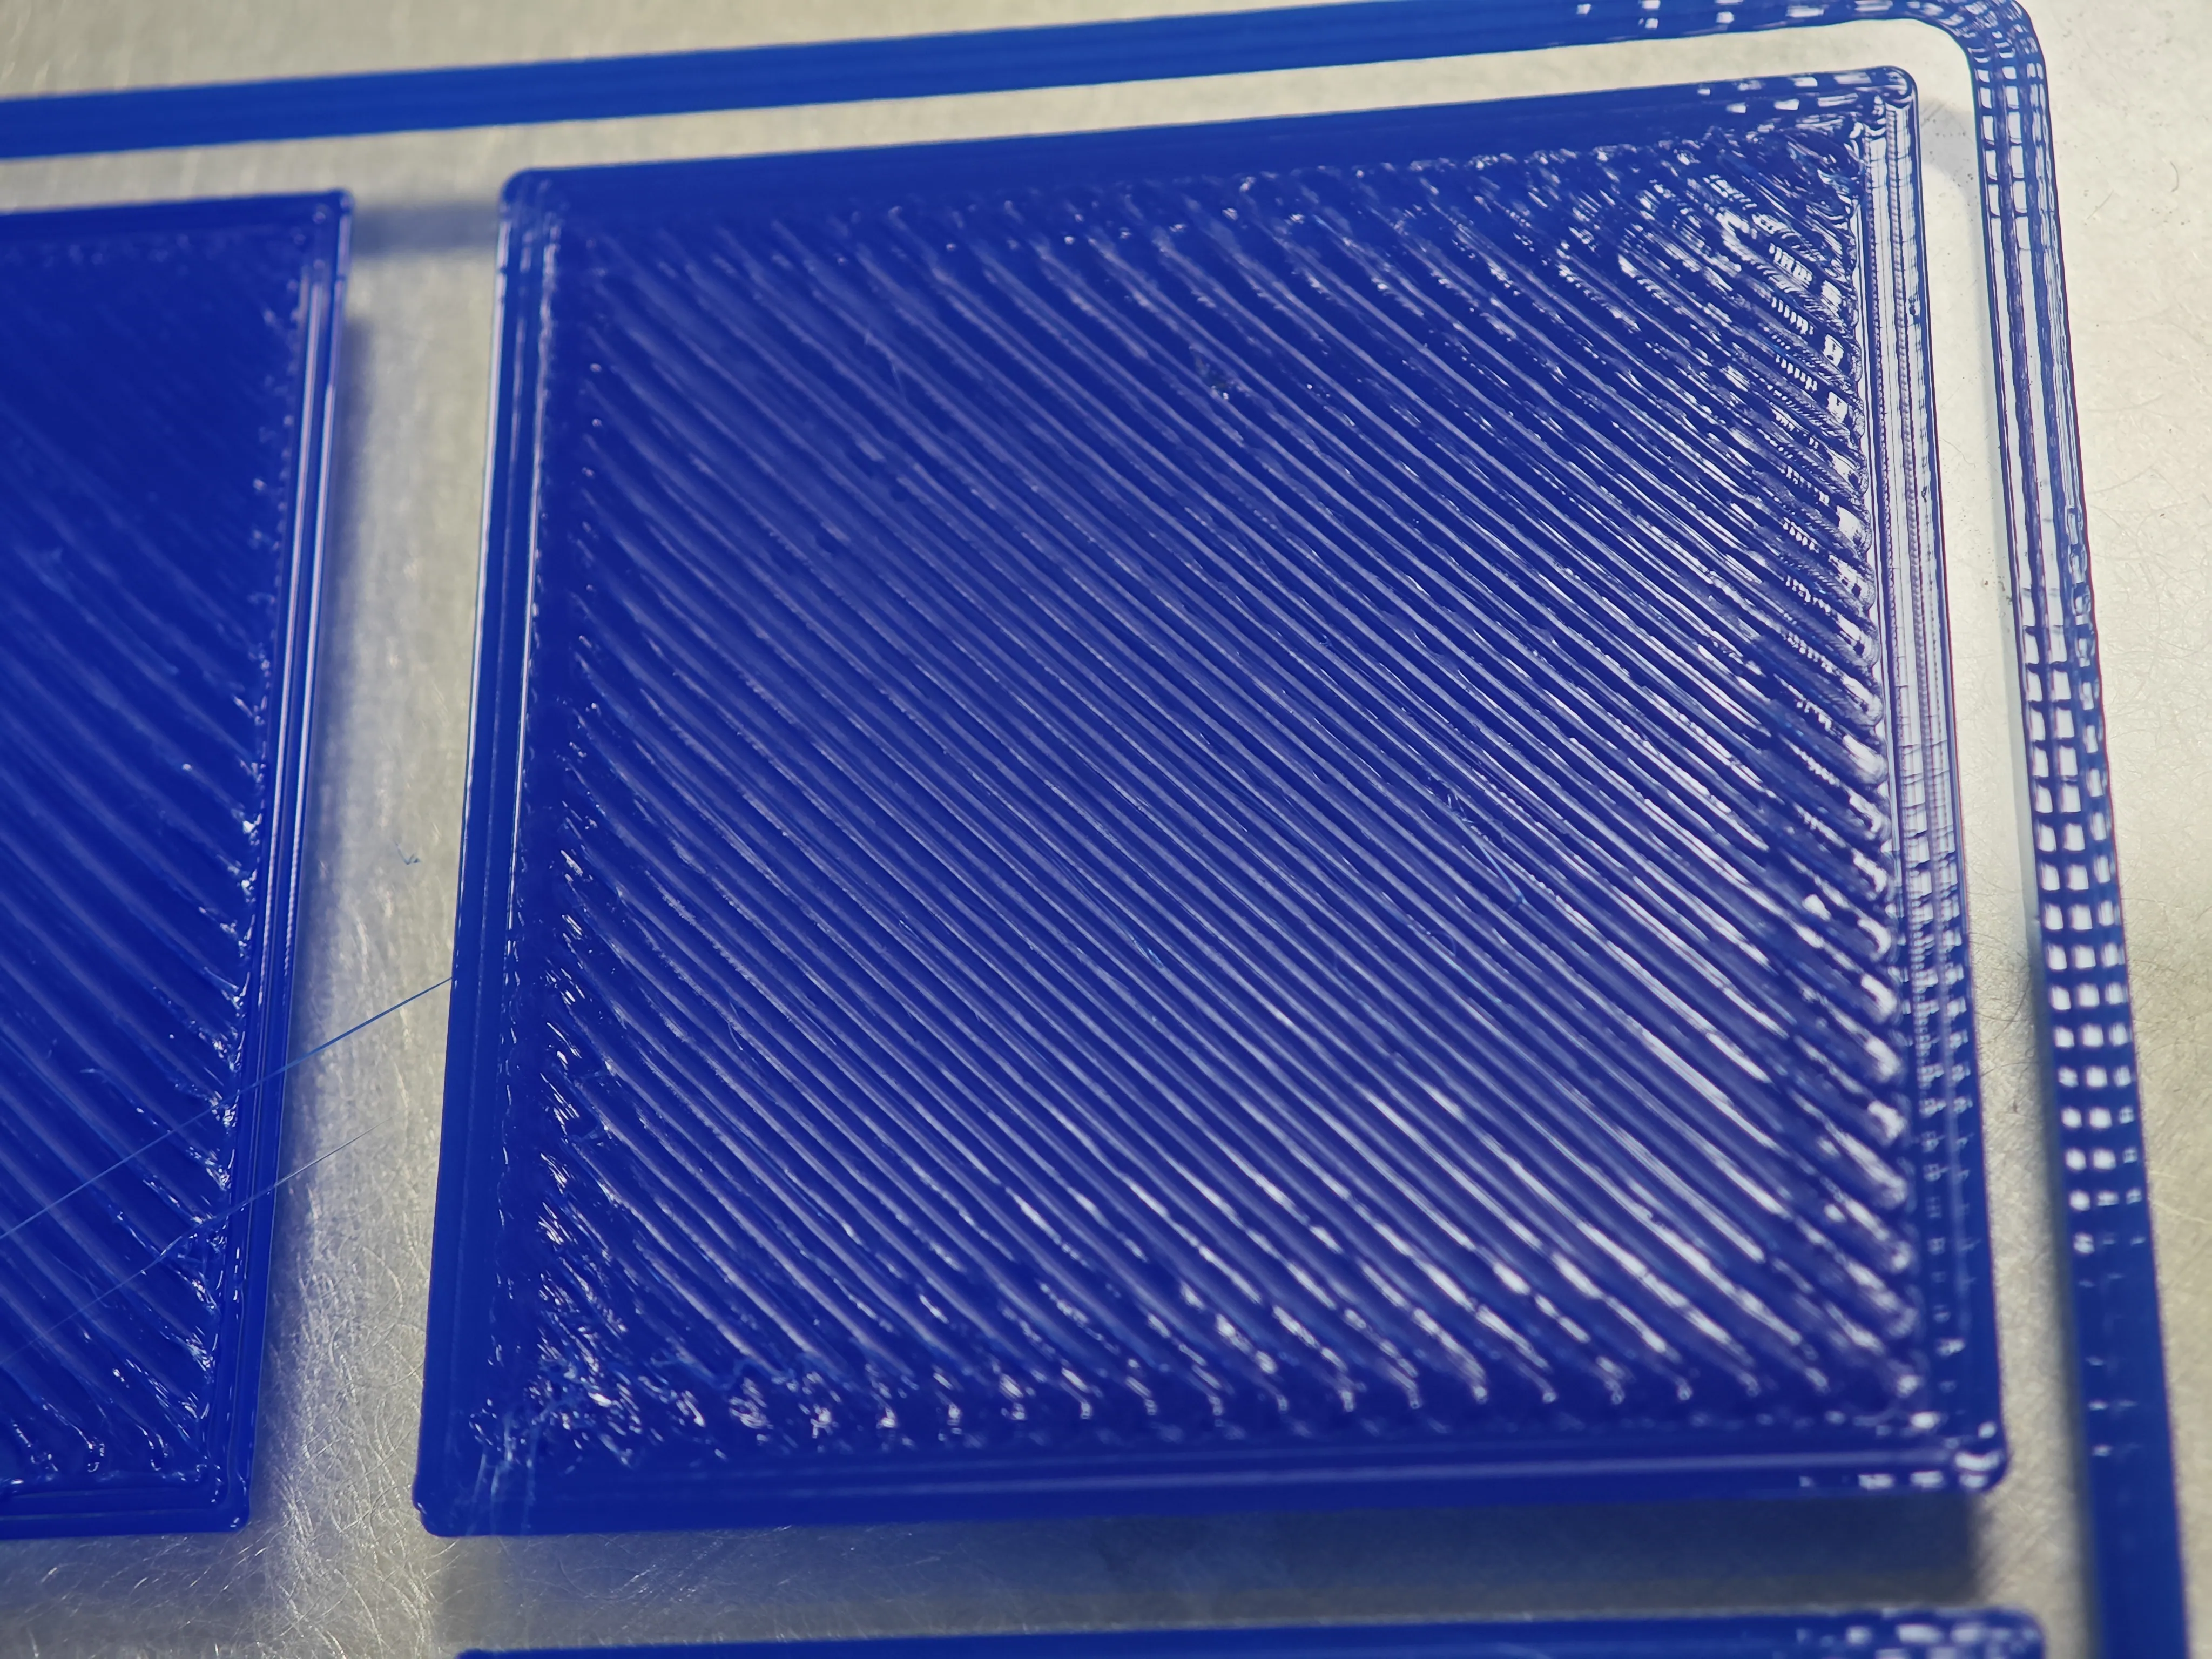
|